
Were back: and an all-new exclusive pattern by Knitting For Breakfast, our cherised collaborators, is now available! Piuma has been chosen once again, but you can use any type of wintery yarn from our collection. Its a top down sweater with cable bobble stitch, what else on Sweater Day?! Its got long cuffs (so long that they can be folded over, making the sleeve shorter), high neck, and a gorgeous pattern on the front, giving the sweater a touch of originality.
I know you can wait to get started, so on we go to the tutorial for the sweater with cable bobble stitch.

This type of sweater is worked in the round using circular needles, from top to bottom. Its worked as one piece so its got the added benefit of being seamless. The stitches are gradually increased from the neck over to the sleeves, which are left hanging to be picked up later on.
MATERIALS
Piuma yarn col. Ireland 500 g / 17.6 oz [S] 600 g / 21.2 oz [M] 700 g / 24.7 oz [L]
Circular knitting needles n° 8 EU / 11 US
Cables 40, 60 and 100 cm / 15.8", 23.6" and 39.4"
Stitch markers
GAUGE
10 cm x 10 cm / 4" x 4" of the stockinette stitch worked in the round
11 stitches X 18 rows
KNIT STITCHES USED
Knit
Purl
Rib 1/1:
all the rounds knit 1 and purl 1 to the end of the round.
Hazelnut:
work 5 stitches in 1 (knit 1, knit 1 through the back of the loop, knit 1, knit 1 through the back of the loop, knit 1), turn the work over and purl 5, turn it over and knit 5, turn it over and purl 5, turn it over again and knit 5. Now pass over 4 stitches starting from the second stitch of the right needle.
Right cable (4/4 RC):
cross 8 stitches to the right= leave 4 stitches on hold on a cable needle hold in back, knit 4, knit the 4 stitches on hold.
Left cable (4/4 LC):
cross 8 stitches to the left = leave 4 stitches on hold on a cable needle hold in front, knit 4, knit the 4 stitches on hold.
Decrease:
knit 2 together.
Increase:
kfb is advised, working (without dropping) 2 stitches in the same stitch, knit the first one and the second through the back of the loop.
SIZES
S - M - L, relaxed fit.
SIZE
OF THE COMPLETED GARMENT SIZE M
Bust 115 cm / 45"
Total height 53 cm / 21"
Height from underarm 28 cm / 11"
Neck opening 22 cm / 8.5"
Sleeve length from the top part 22 cm / 8.5"
Sleeve length from the underarm 35 cm / 13.8"

All the sizes [S] [M] [L]
Using n° 8 EU / 11 US needles cast on 48 stitches, place the start of round stitch marker and bind off in the round.
Rib stitch 1/1 the first 20 rounds in the following way: knit 1, purl 1 repeat to the end of the round.
Round 21: place the 3 stitch markers for the increases like so: stitch marker for the start of round, knit 4, place stitch marker, knit 21, place stitch marker, knit 4, place stitch marker, knit 19.
At this point the increases are begun to shape the sleeves, the front and the back of the sweater. The increases are always done before and after each stitch marker. (apart from the two stitch markers for the central motif which well place later).
Round 22: proceed like so: increase 1, knit until 1 stitch before the stitch marker, increase 1, pass the stitch marker, increase 1, knit until 1 stitch before the stitch marker, increase 1, pass the stitch marker, increase 1, knit until 1 stitch before the stitch marker, increase 1, pass the stitch marker, increase 1, knit until 1 stitch before the stitch marker of the start of round, increase 1. 8 stitches increased in all
round 23: knit all
round 24: as round 22 (8 stitches increased)
In round 25 2 stitch markers will be placed to mark off the central motif: within these stitch markers the CHART is to be followed (from right to left and from the bottom to the top).
Its best to choose a different colour of stitch markers to the ones for the increases as to not get them mixed up.
Then go on to place the stitch markers like this: knit 8, pass stitch marker, knit 1, place the stitch marker for the central motif, follow the CHART for 23 stitches, place the second stitch marker for the central motif, knit 1, pass stitch marker, knit 8, pass stitch marker, knit 23.
64 stitches on the needles.
Round 26: increase 1, knit until 1 stitch before the stitch marker, increase 1, pass stitch marker, increase 1, knit until the stitch marker of the central motif, follow the CHART for 23 stitches, pass the stitch marker for the central motif, knit until 1 stitch before the stitch marker, increase 1, pass stitch marker, increase 1, knit until 1 stitch before the stitch marker, increase 1, pass the stitch marker, increase 1, knit until 1 stitch before the stitch marker of the start round, increase 1. 8 increased stitches in all
round 27: knit all stitches apart from the 23 stitches marked off by the two stitch markers of the central motif / CHART.
Repeat rounds 26 and 27 another 20 [S] 21 [M] 23 [L] times, 232 [S] 240 [M] 256 [L] stitches in total on the needles.
In the next round leave the sleeves hanging like this: leave 50 [S] 52 [M] 56 [L] stitches hanging (first sleeve) knit 22 [S] 23 [M] 25 [L], follow the CHART for 22 [S] 23 [M] 23 [L] stitches, knit 23 [S] 23 [M] 25 [L], leave the next 50 [S] 52 [M] 56 [L] stitches hanging (second sleeve) and knit 65 [S] 67 [M] 71 [L].
Note: take away the three stitch markers for the increases, keeping only the one for the start of the round and the two for the central motif-
Now start working on the body of the sweater: on the needles there are 132 [S] 136 [M] 144 [L] stitches in total.
For convenience the rounds will start from number 1
Round 1: knit all the stitches apart from the 23 marked off by the two stitch markers for the central motif / CHART.
Repeat round 1 for another 32 [S, M] 38 [L] rounds.
Next round: take away the central stitch markers. The CHART won't be followed anymore.
Knit and arrange the 8 decreases evenly.
Rib stitch 1/1 the last 11 rounds.
Bind off loosely.

All sizes [S] [M] [L].
Pick up on the needles the 50 [S] 52 [M] 56 [L] stitches left hanging previously and start working the sleeves like so: knit the first 3 rounds.
Round 4: knit all the stitches and decrease 4 stitches.
Rounds 5 to 7: knit another 3 rounds
round 8: knit all the stitches and decrease 2 stitches.
Repeat rows 5 to 8 another 3 times.
Next round: knit all the stitches and decrease 8 stitches evenly.
There will be 30 [S] 32 [M] 36 [L] stitches on the needles.
Rib stitch 1/1 the last 25 rounds.
Bind off loosely.
Repeat everything for the other sleeve.
Sew up under the sleeves, weave in all the loose threads, wash and block the garment.
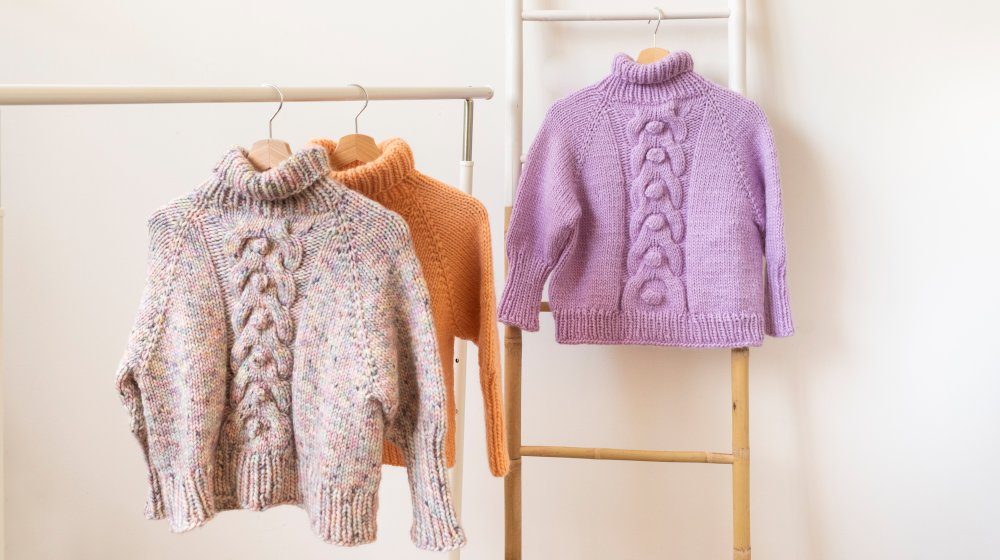
We loved this pattern so much that we just had to do it again in three different colours: Twilight, Flamingo and Marshmallow. Also from the Piuma collection! Arent these three gorgeous too?
If you fancy making another sweater, but this time a two-tone and baggy one, check out the tutorial on how to make a super cozy high neck sweater.


WRITE A COMMENT