
Hallo, I am Hannah Kilby and I started The Handmade Florist three years ago to share my love of felt flower making through tutorials, craft kits and workshops. Im a mum of one and when Im not busy being creative, I love running, writing, beach walks and reading. My day always starts with coffee and a good book! Im a firm believer that making is good for the mind and I like to think that my projects help people relax and unwind as well as learn a new skill. I love experimenting with different shapes, colour combinations and textures but I take all my inspiration from real flowers. Im so happy to see spring appearing here in the UK now, with new flowers starting to pop through; bold and bright tulips are definitely one of my favourites and it was so much fun creating a felt tulips version of them for this project.
Makes two flowers, one each of Fuxia and Yolk.
Time needed: Approx. 2 hours
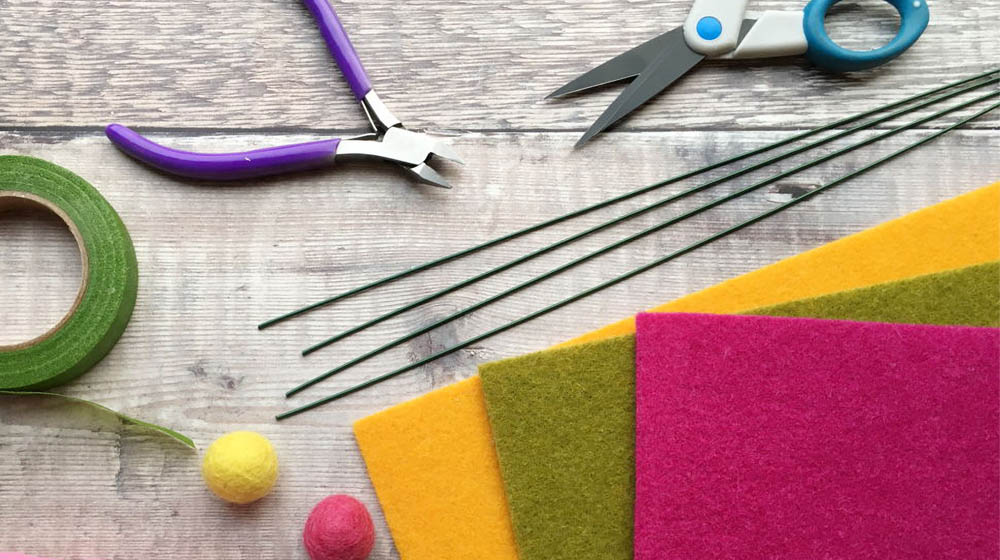
MATERIALS
2mm thermoformable felt 30x30cm: one sheet each of Fuxia, Yolk and Olive (there should be some felt leftover so you may be able to make more than one flower of each colour)
4 x 30cm florist wires (18 gauge)
Green florist/stem tape
2 x 2cm felt balls in colours to match the felt
Paper for cutting templates
Scissors
Hot glue
Wire cutters
Optional: pen and pins (for tracing templates)
DIFFICULTY LEVEL
Easy to moderate
METHOD
Start by cutting out the template shapes onto paper.

Use the templates to cut the shapes from your felt. For each flower you will need:
9 small petals in Fuxia/Yolk
3 medium petals in Fuxia/Yolk
3 large petals in Fuxia/Yolk
4 leaves in Olive
To cut the templates, you can either draw around the shapes onto the felt, hold in place with pins and cut, or simply hold with your fingers to the felt as you cut around the shape.
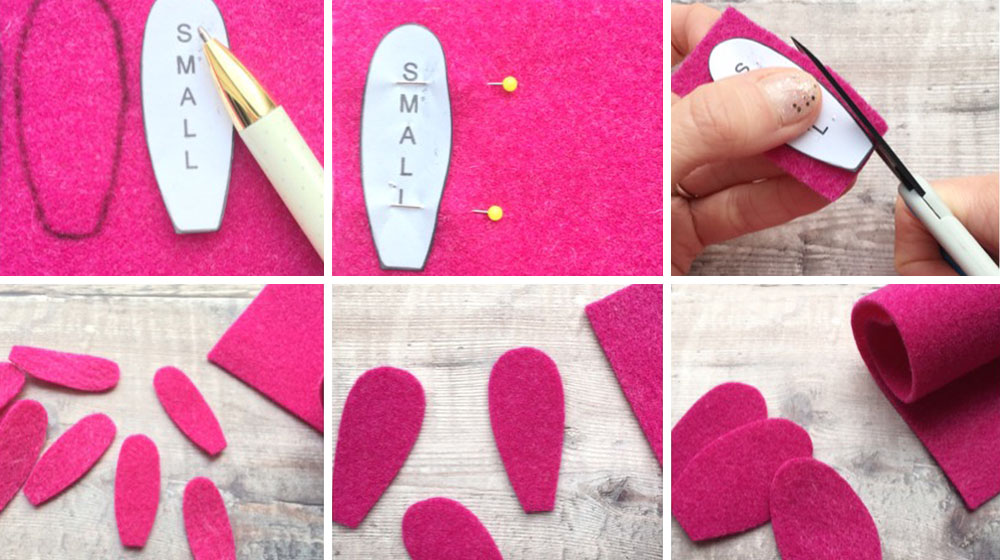
Make a small cut into the top of each small and medium petal and then form the edge into a heart shape.

Make two cuts into the top of each large petal to form three ridges.

Take two of the florist wires and use wire cutters to cut four pieces, each 13cm long. The remaining two wires should be left full length. Wrap each piece of wire with florist tape by pinching the end of the tape and wire together between your thumb and forefinger. Use these fingers to squeeze the wire and tape together, as you use your other hand to roll the wire, keeping the tape stretched at an angle. Allow an overhang of tape at each end. Trim the overhangs to leave a neat finish at each end. If you need some help on this step try watching this video which shows you what technique to use.

Use sharp scissors to make a hole in the felt ball. Place a blob of hot glue on the end of one 30cm wire; push inside the felt ball and leave to set.

Take three of the small petals. Glue the bottom half of each and attach in an even layer around the ball, shaping the bottom around the ball with your hand.

Take three more small petals. Glue the bottom two-thirds of each and attach in another layer around the ball, gluing the petals in the gaps between the first layer.

Repeat with the final three small petals

Now take the three medium petals. Glue the bottom two-thirds of each petal and attach in another layer around the flower.

Cut a small slit into the base of each large petal, about 1cm deep.

Place a dot of glue at one side of the cut and overlap the bottom edge. Hold in place to set. This creates a cup shape with the petal to help it curve around the flower.

Glue the bottom half of each large petal and glue in place around the flower. Place the petals so they cover the joins of the medium petals. The tops of the medium petals should show through the gap where the large petals meet.

Place a line of glue down the middle of one leaf and glue one of the shorter wires in place.

Take another leaf and glue it on top of the leaf and wire, so the wire is hidden inside.

Repeat to make the other leaf stem.

Gently bend the wire at the base of the leaves with your fingers.

Position the two leaf stems either side of the tulip, with the bottom edge of the leaves about 5cm below the base of the tulip. Use a small piece of florist tape to hold in place.
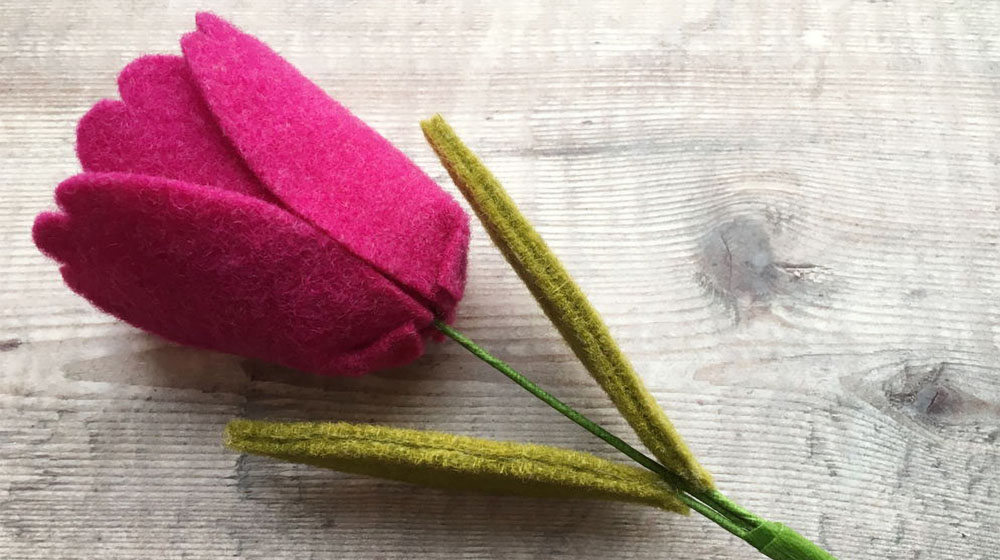
Now take the florist tape and, starting at the base of the leaves, wrap the tape tightly around the stems to secure in place to the main tulip stem.

As you get towards the bottom of the leaf stems you may want to add a few more layers of tape to make the stem gradually get thinner.

Add a curve to each leaf by gently bending with your fingers.

Repeat to make the second tulip in the contrasting colour.
If you liked this tutorial on how to make felt tulips, and you'd like to try out another technique for making felt flowers, why not check out the tutorial by Vendetta Uncinetta.


WRITE A COMMENT