
Felt is at the heart of so many crafty projects because it can be easily cut, glued, sewn, decorated, and combined with other materials. Its rich colors further expand the creative possibilities. Today, were showcasing it in the form of a Carnival mask. We took our felt squares and asked @chiawok to come up with a kids mask, and she imagined a unicorn a symbol of strength and magic. Follow the step‑by‑step tutorial and youll find yourself in an enchanted place where happiness reigns.
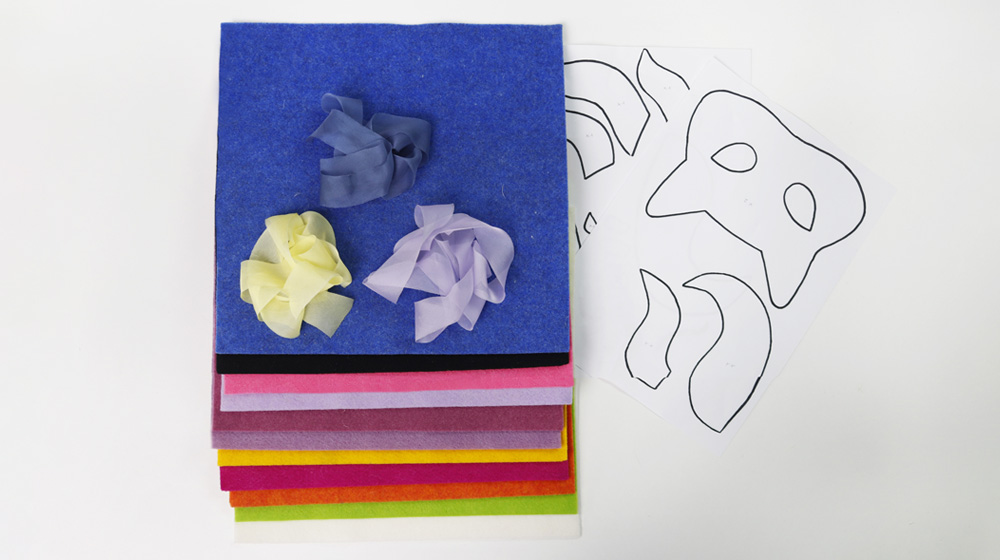
MATERIALS
Thermoformable wool felt 30x30 in the following colors:
Milk at least 2 squares of this shade
Mint
Sunset
Fuchsia
Yolk
Wisteria
Laguna Roja
Twilight
Baby
Black
Mediterranean
Chiffon 6 silk ribbon, 2.5 cm wide in the colors: Lemon, Twilight and Jeans
Scissors
Pin
Hot glue
PROCEDURE
Lay out all the materials on a clean, well-lit work surface so everything is within easy reach and you can work comfortably. For the pattern pieces, you can click here (print on A4): inside each section of the mask youll find the number of pieces to cut and the felt color to use.
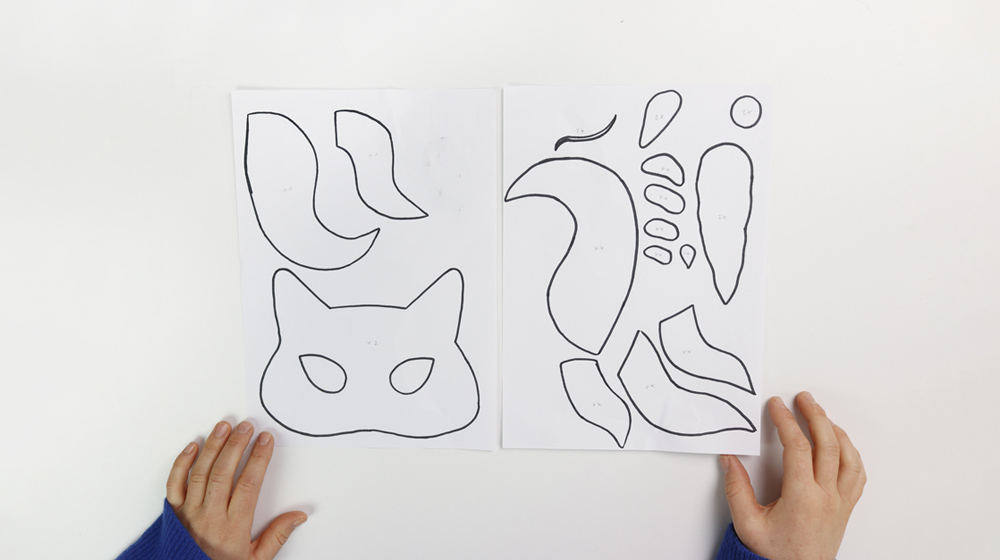
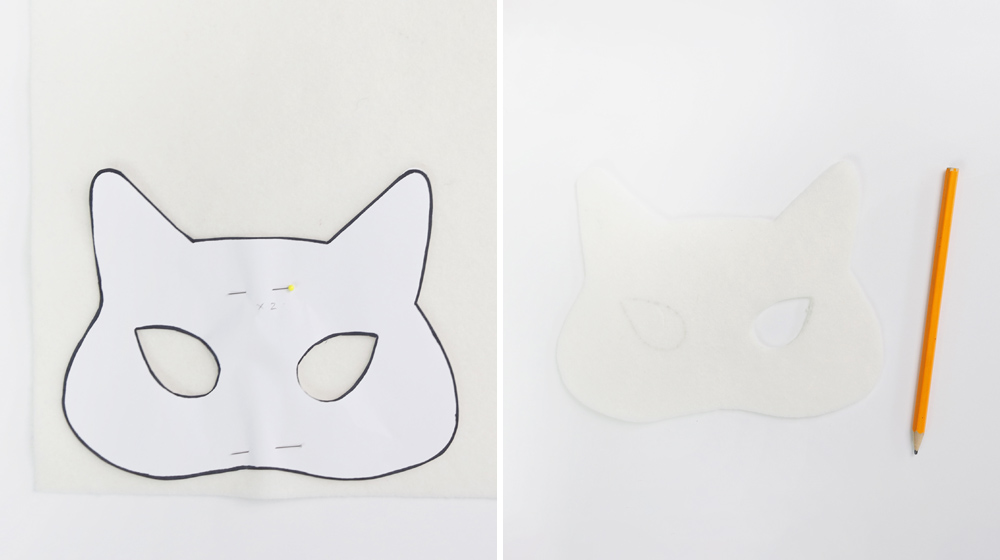
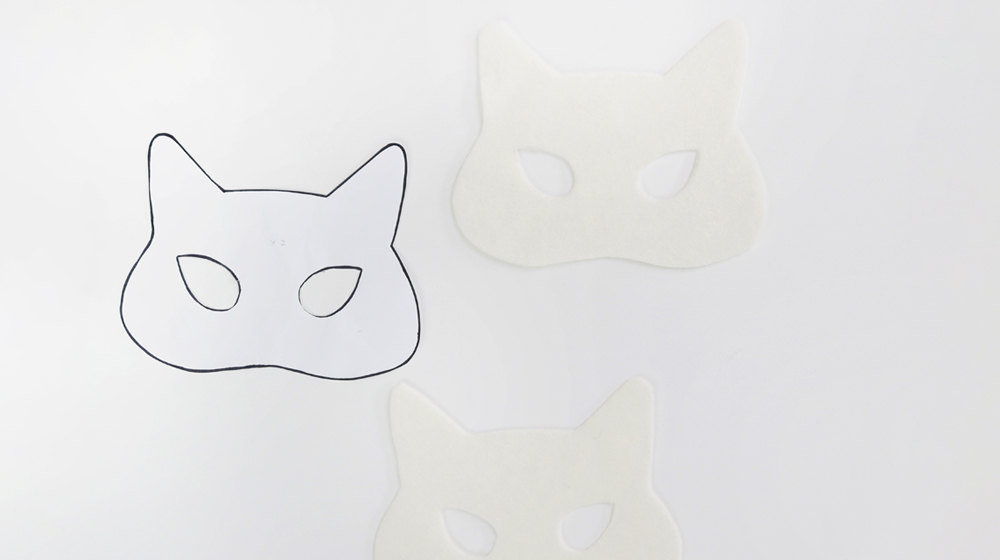
Once youve printed the template, cut out all the pieces. Now take the main mask shape, which will be your base, and the Milk-colored felt square. Pin the template to the square and, using a pencil, trace around the outline: this will make it easier to follow the cutting line with your scissors. Repeat the same step with the second Milk-colored square.
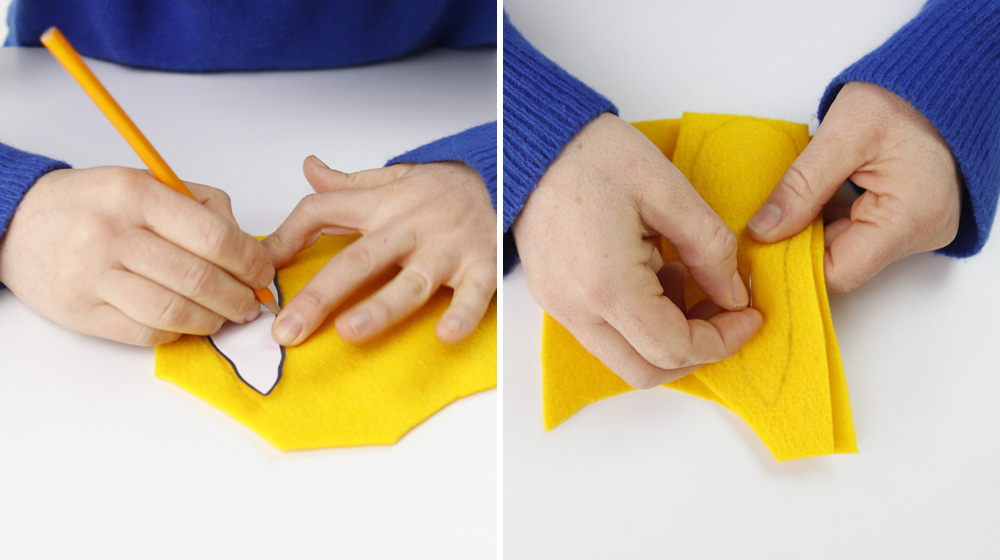
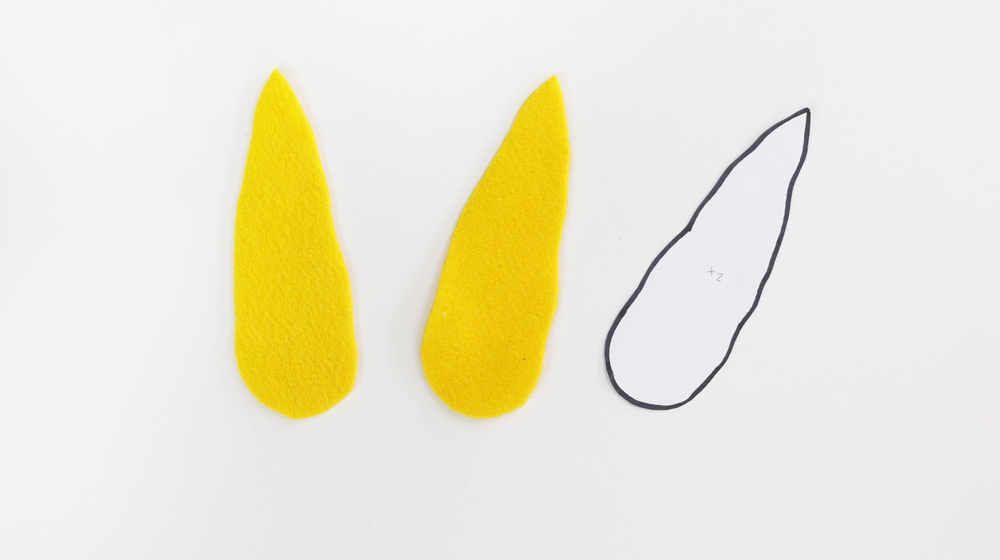
Next, take the Yolk-colored square and use the horn template to trace the shape. After cutting the first horn, place it on the remaining Yolk felt and pin it in place with one or two pins: this will make cutting the second horn easier and more accurate.
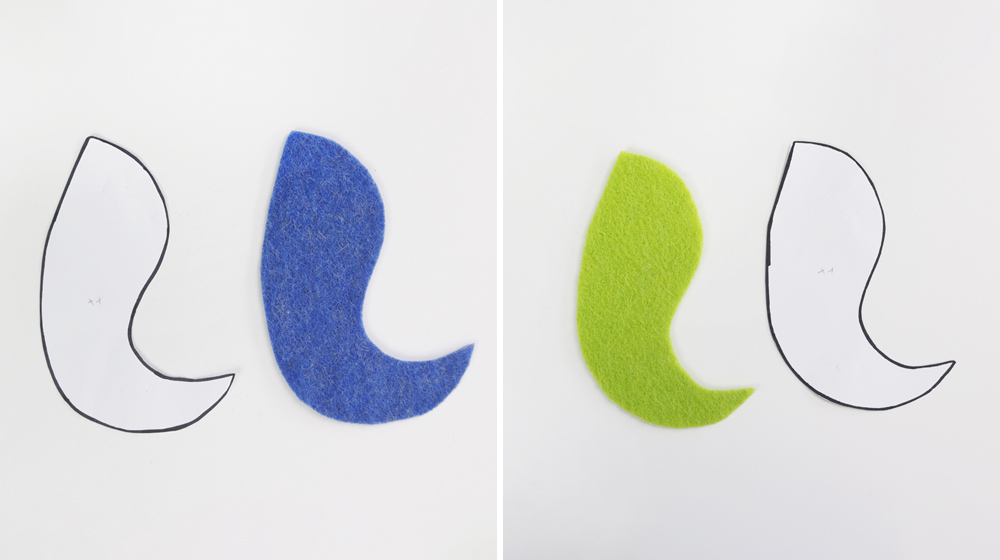
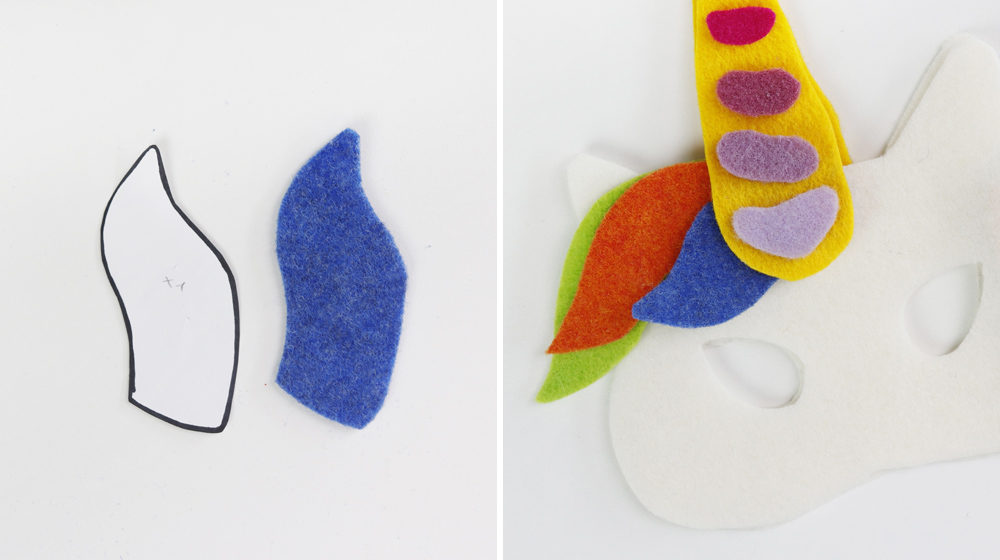
Now take the Twilight, Wisteria, Laguna Roja, Fuchsia and Baby squares. Once again, trace the corresponding templates onto each felt square as indicated in the diagram and cut out all the shapes.
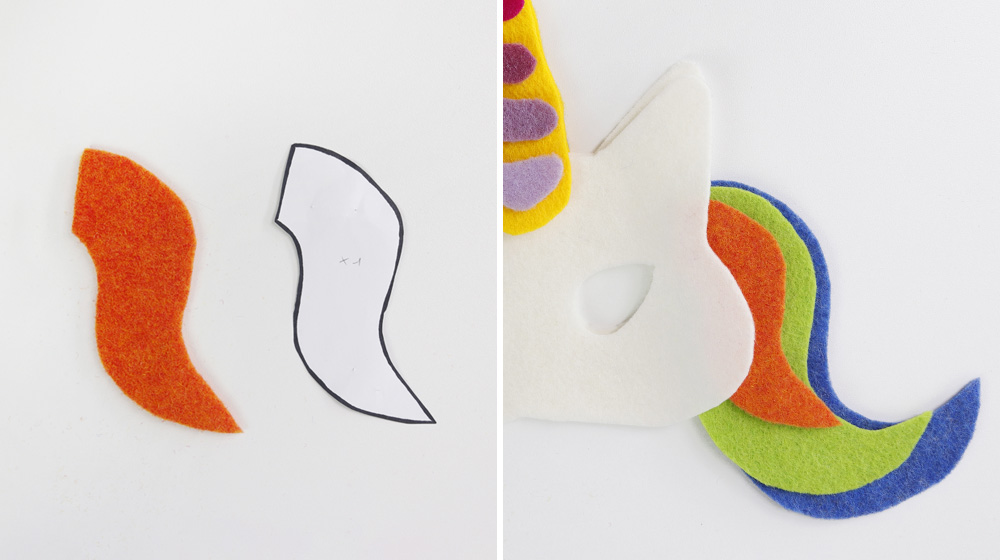
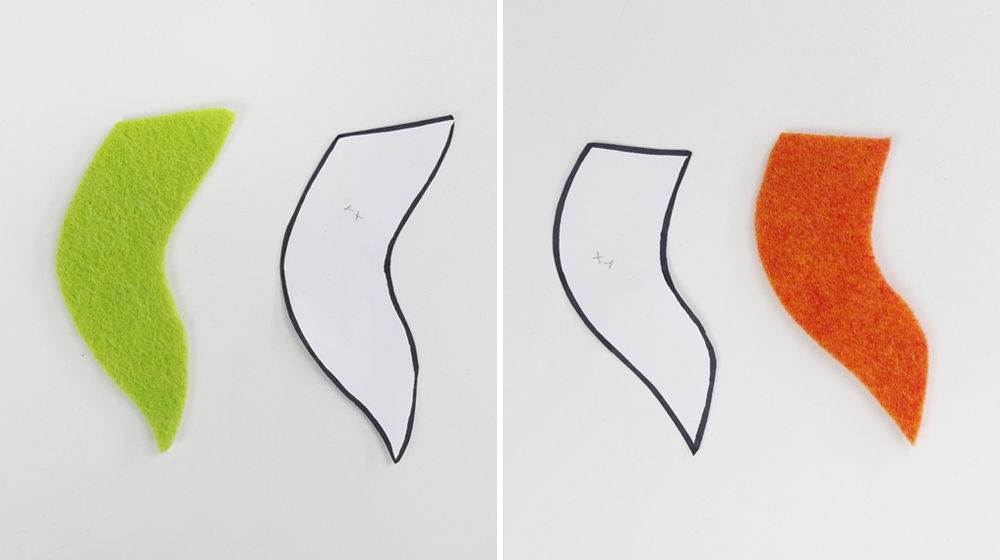
At this point, take the Mediterranean, Mint, and Sunset squares and, still following the same method, start cutting the tail pieces, from the largest shape down to the smallest. Repeat the same process with the same colors, this time using the forelock templates.
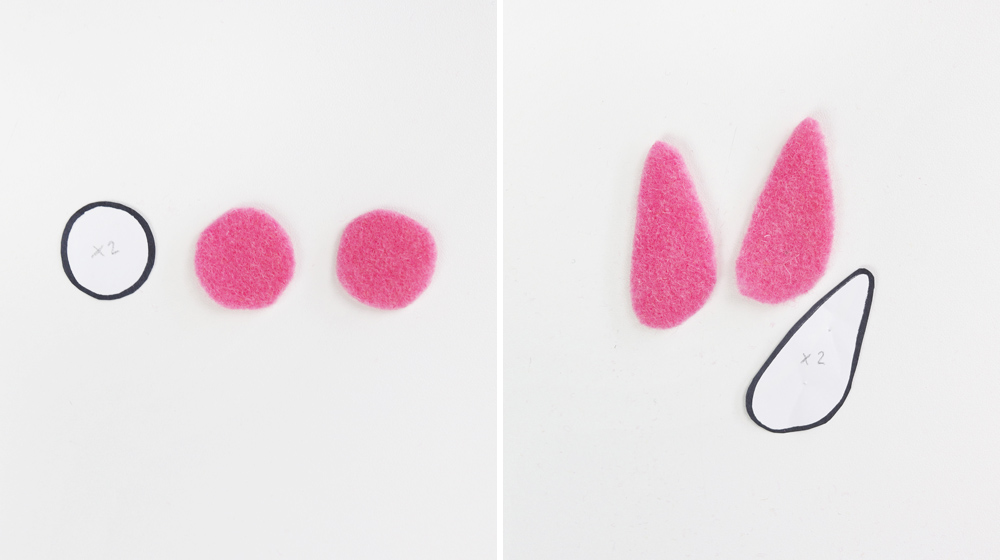
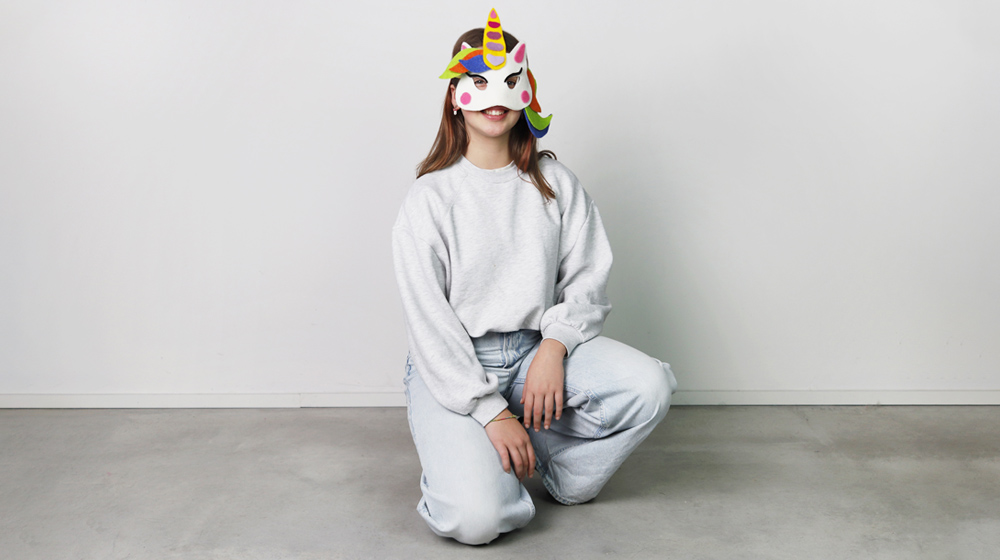
Now cut out the two cheeks and the ears from the Baby square. Finally, cut the two eyelashes from the Black square. Assemble the Carnival mask by following the reference image until you obtain the same result.
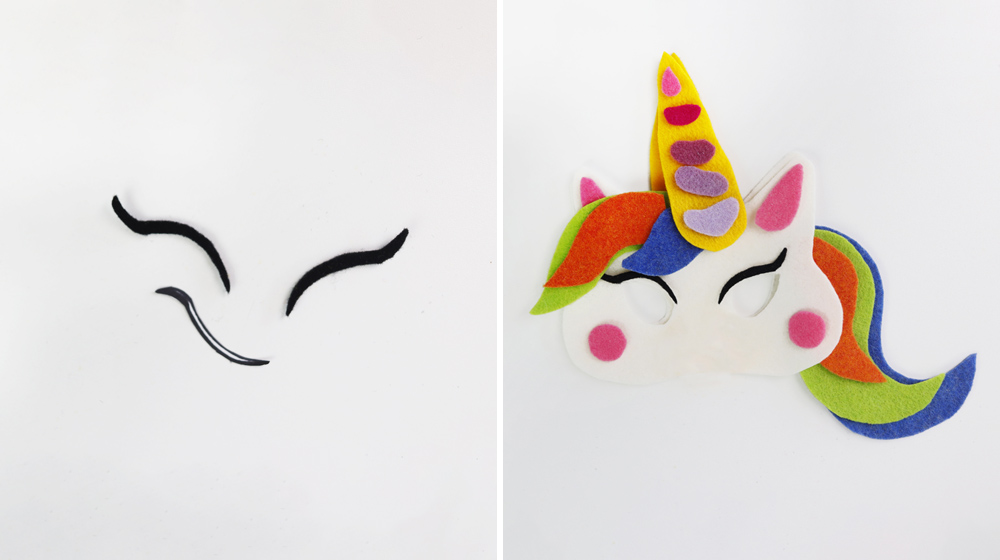
Take the hot-glue gun and start by gluing the cheeks and ears onto one of the two base mask shapes, then glue on the two eyelashes.
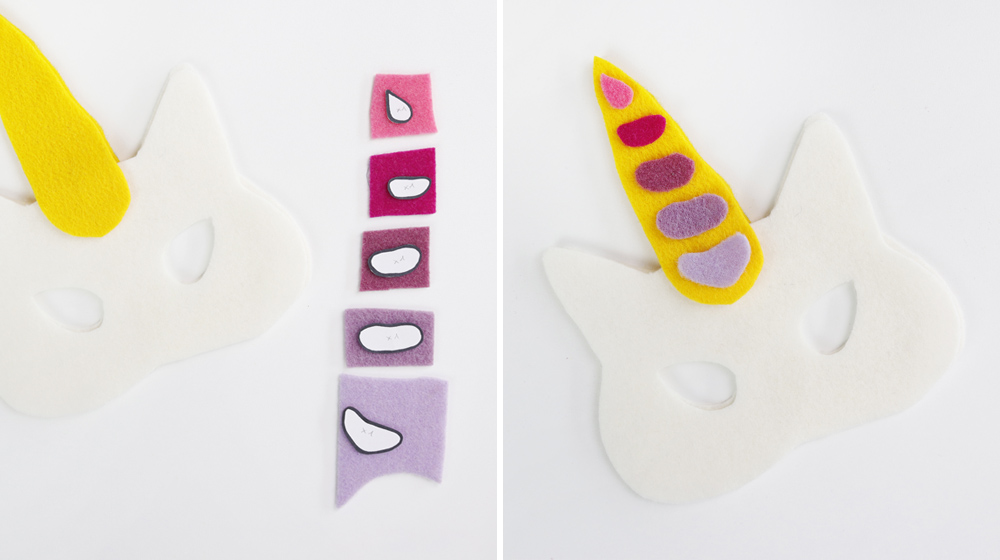
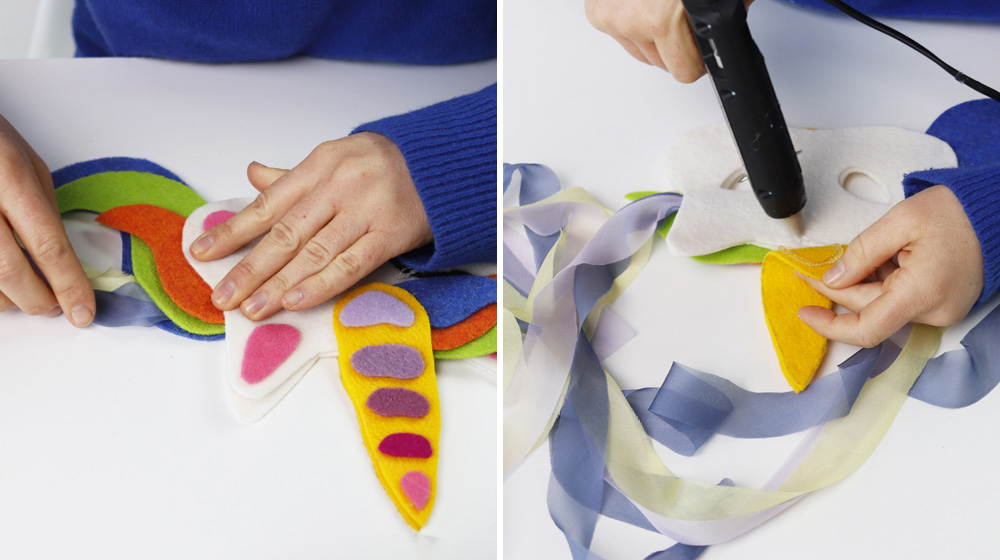
Next, take one of the horn shapes and all the small pieces that go on top of it; once youve arranged them correctly, glue them in place.
Take the three forelock pieces and first glue them together. Place and glue the forelock in the center of the mask, already decorated with cheeks, eyelashes, and ears. Glue the decorated horn on top of the forelock.
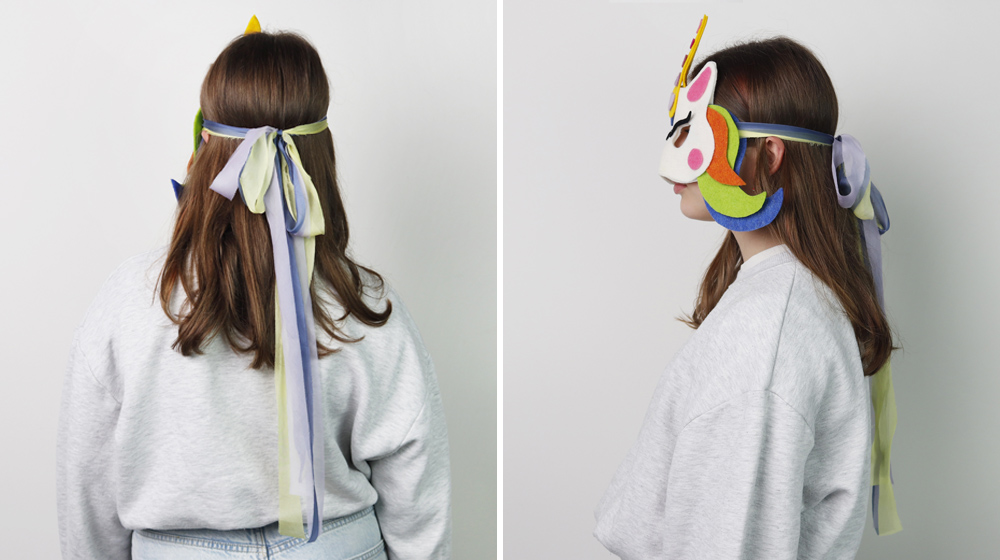
Match the three colors of silk chiffon ribbon and cut two equal-length pieces for each color, making sure they are long enough to tie the mask around the head with a bow. Glue the first pair of ties to one side of the mask and repeat with the other pair on the opposite side. Now take the decorated mask half and the undecorated base: insert one pair of ties between the two layers on the left side and glue the two mask bases together over half of the face.
Now take the tail pieces and first glue the Sunset and Mint layers together. Then take the already assembled ribbons and the remaining Mediterranean piece: glue the ribbons between the Mint piece and the Mediterranean piece.
Pick up the mask, which is already glued together over half the face, insert the tail piece between the two mask bases, and finish gluing the two main shapes together. At this point, all thats left to do is glue the remaining horn piece to the back of the mask, aligning it with the decorated horn on the front.

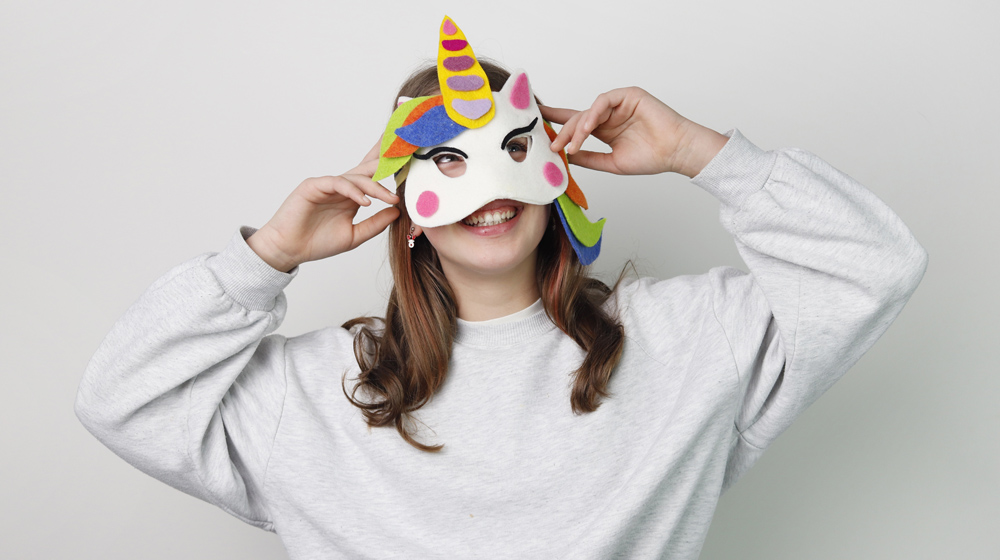
Your unicorn-shaped Carnival felt mask is now ready to wear!


WRITE A COMMENT