
This tutorial is the third and final Halloween project made for DHG by Pollaz. When were on the lookout for great ideas, Pollaz is always the right person to ask! The Pumpkin and the Black Cat are wonderful, but we think that this mask, inspired by Mexican skulls, has really outdone itself.
First of all, whats the meaning of these skulls? These colourful and ironic skulls are part of the Mexican tradition of worshipping the dead. Instead of causing sadness and mourning as in the Western tradition, these skulls exorcise death with bright and cheerful colours. Even if the meaning might seem the total opposite, they are in fact a tribute to life. LONG LIVE LIFE! Lets get started!
MATERIALS
2mm of Thermoformable felt Colour. Milk
2mm of Thermoformable felt Colour. Antilles
2mm of Thermoformable felt Colour. Light
2mm of Thermoformable felt Colour. Black
10 white pompoms
10 pink pompoms
10 light blue pompoms
Needle and aqua green thread
Pencil
Scissors
Sewing machine
Black thread
Pink thread
2 black grosgrain ribbons 30cm long and 0.5cm high
METHOD
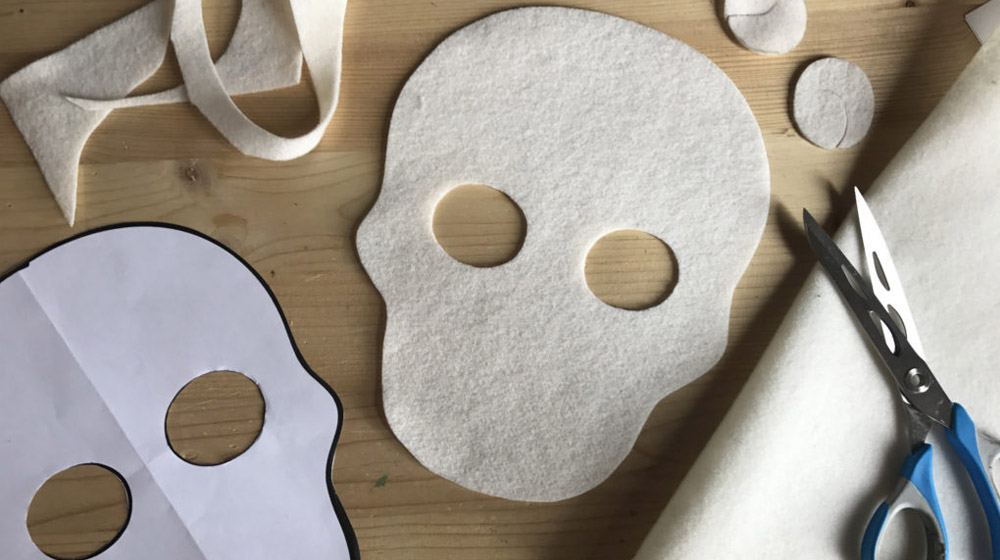
After taking the measurements of the face carefully, draw a skull on a piece of paper.
Once the template is finished, use it to recreate the skull on the thermoformable felt Colour. Milk. Cut it out and also the eyes.
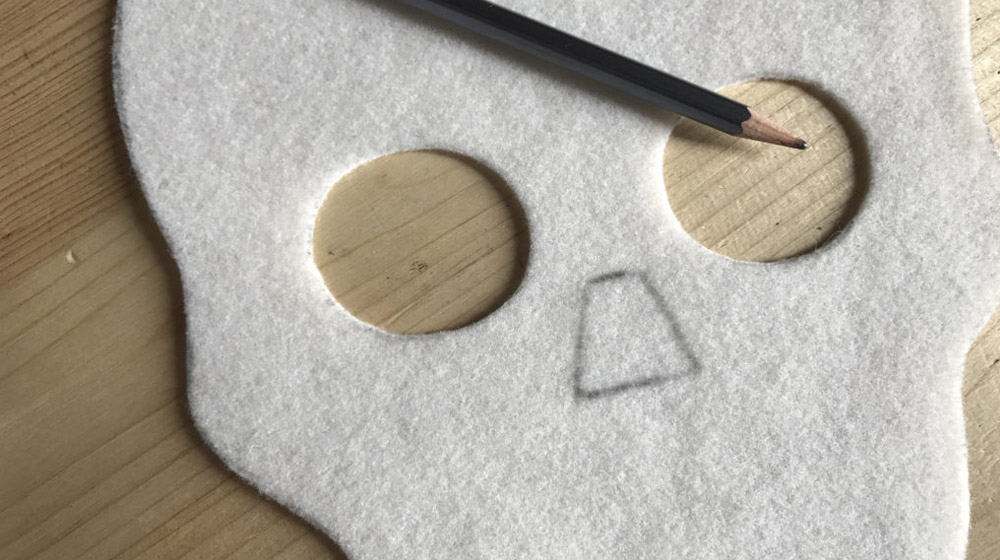
Placing the skull on the face, take the measurements of the nose. Draw a trapezoid then cut it out.
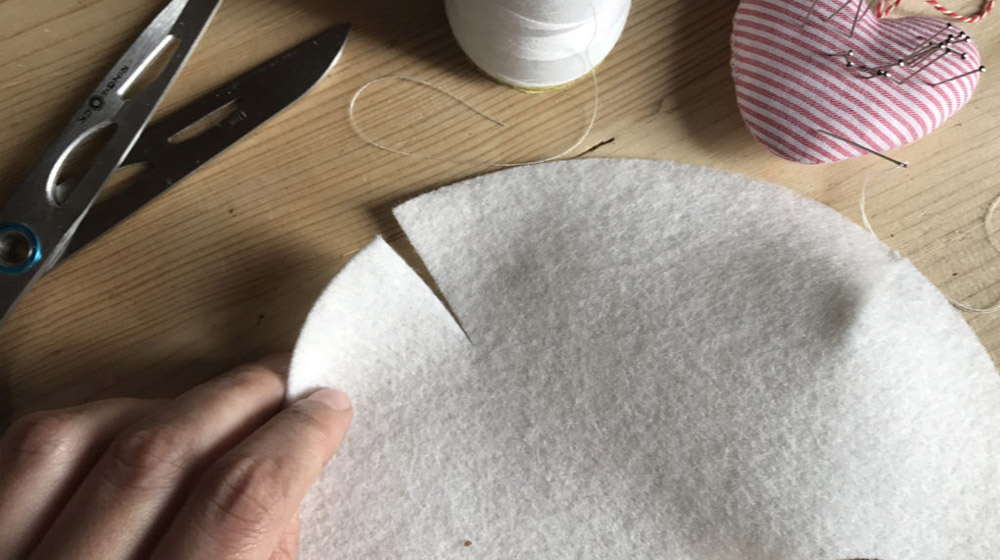
To make the mask rounder, like for the Black Cat mask, mark 4 cuts, 2 at the top on either side of the head and 2 at the bottom on either side of the chin. For the time being only stitch the tops ones together.
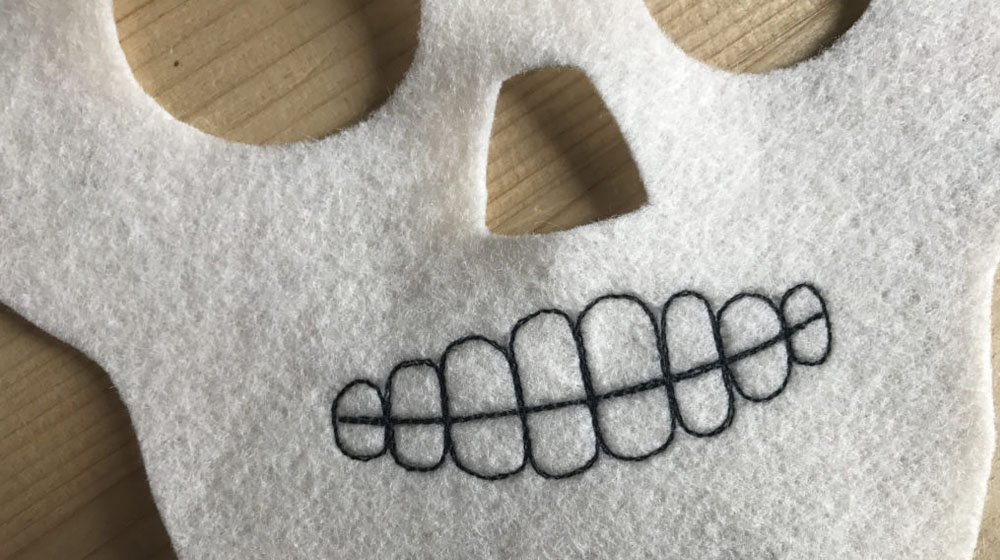
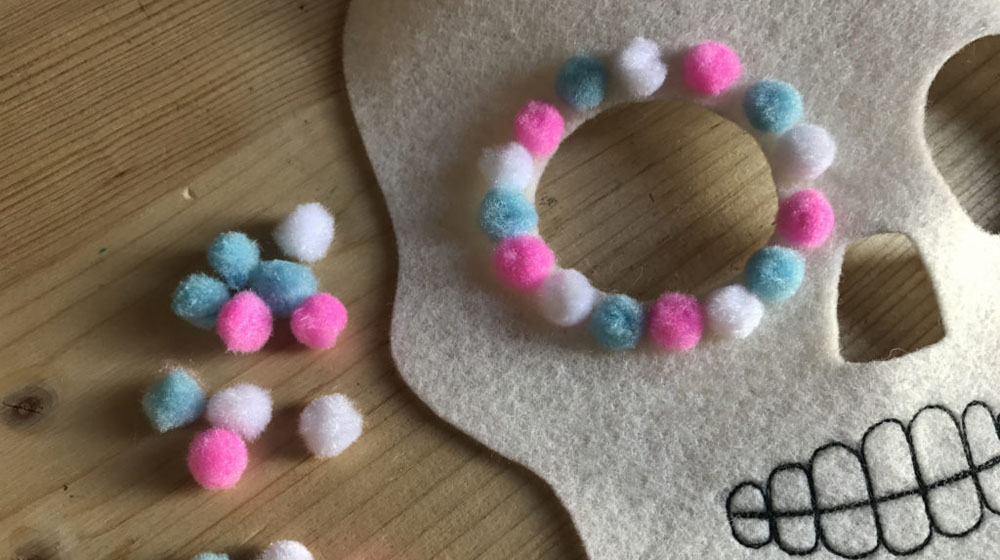
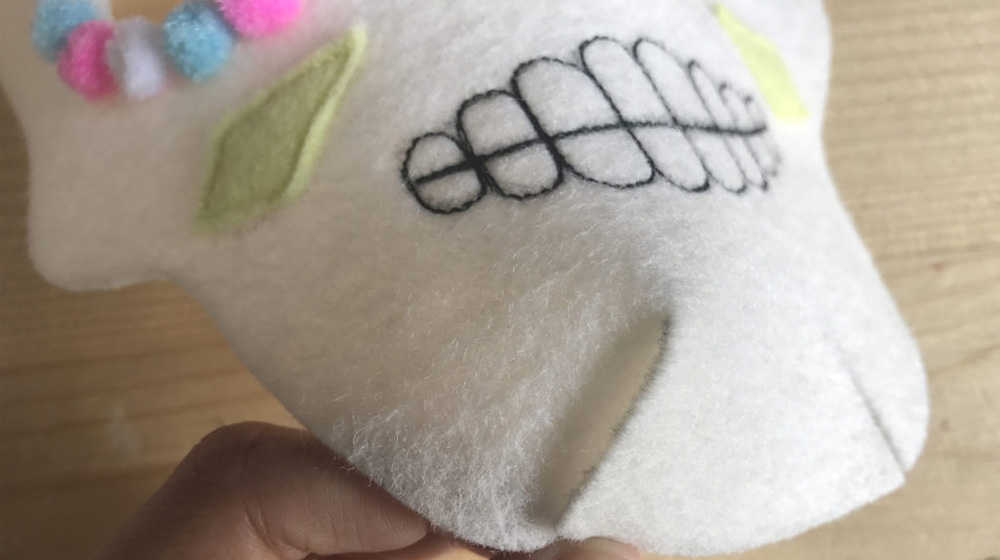
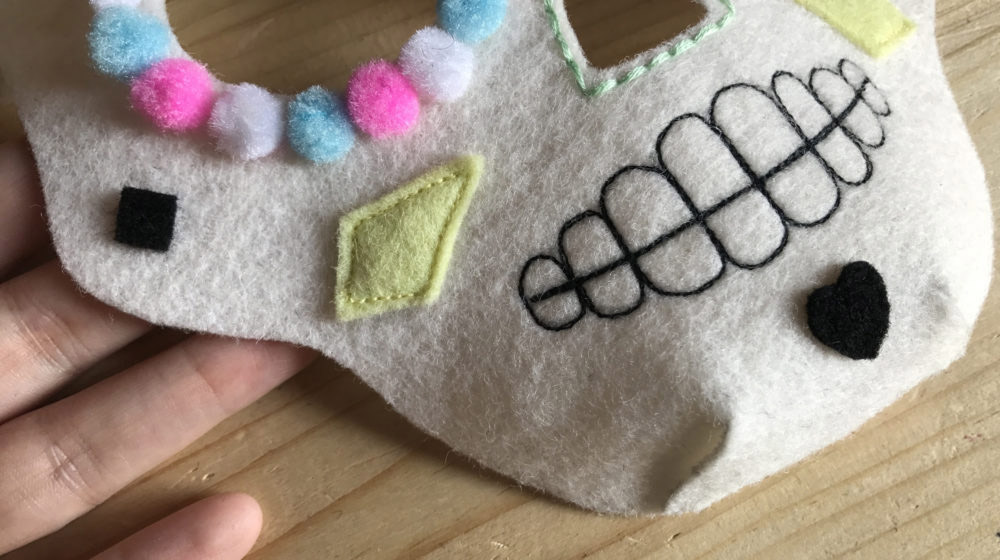
Now move on to the mouth: draw a skeletal smile and the teeth on the felt, then with the sewing machine, use the black thread to go over the outline.

Now comes the best part. Lets make this skull colourful and fun! Take the pompoms and put them around the eyes. Sew them on one by one.
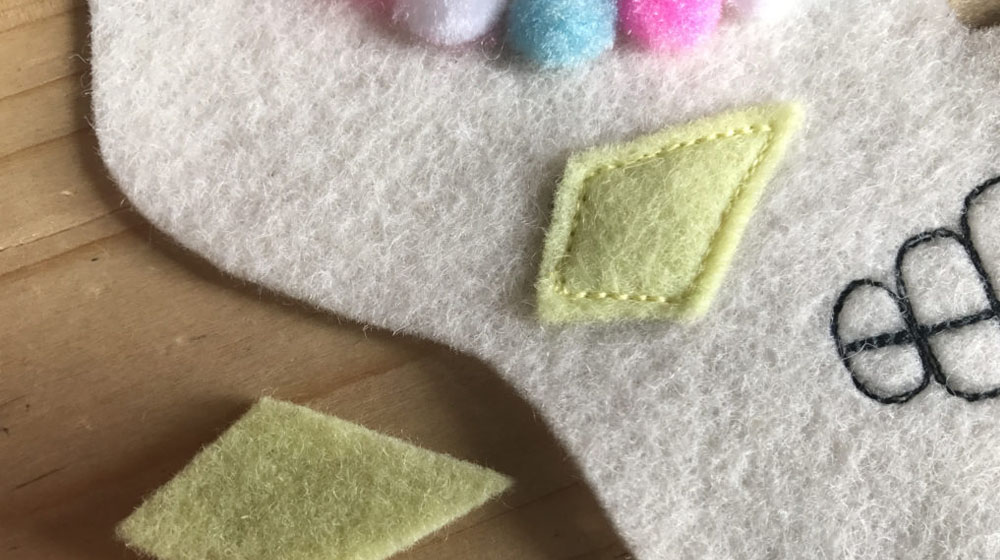
Then cut out diamonds from the Colour. Light felt and sew them on under the cheekbones.
Now sew the 2 cuts together on the chin. Exactly like you did for those on the head. Can you see that by overlapping them slightly it gives it volume and roundness?
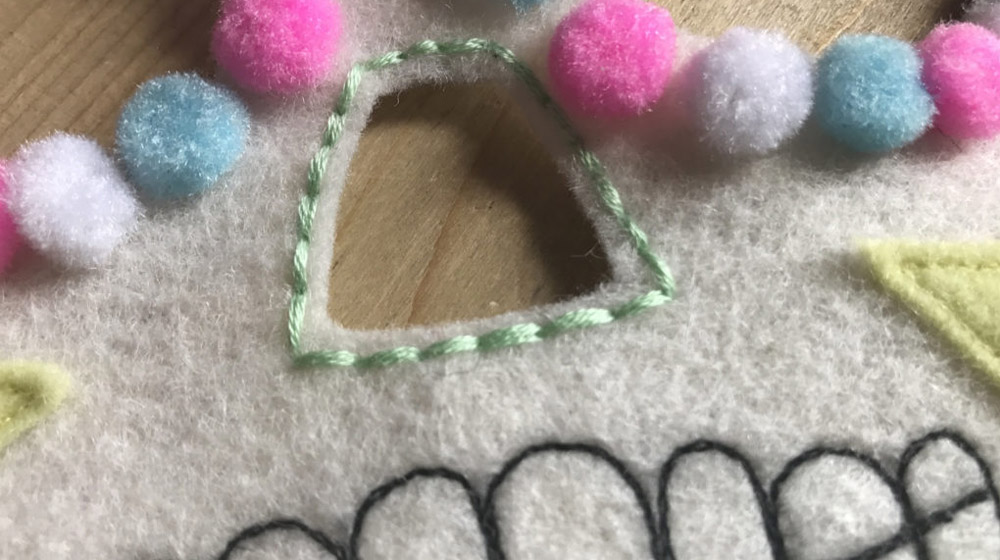
Add even more colour by embroidering the outline of the nose with the aqua green thread. Use a simple stitch.
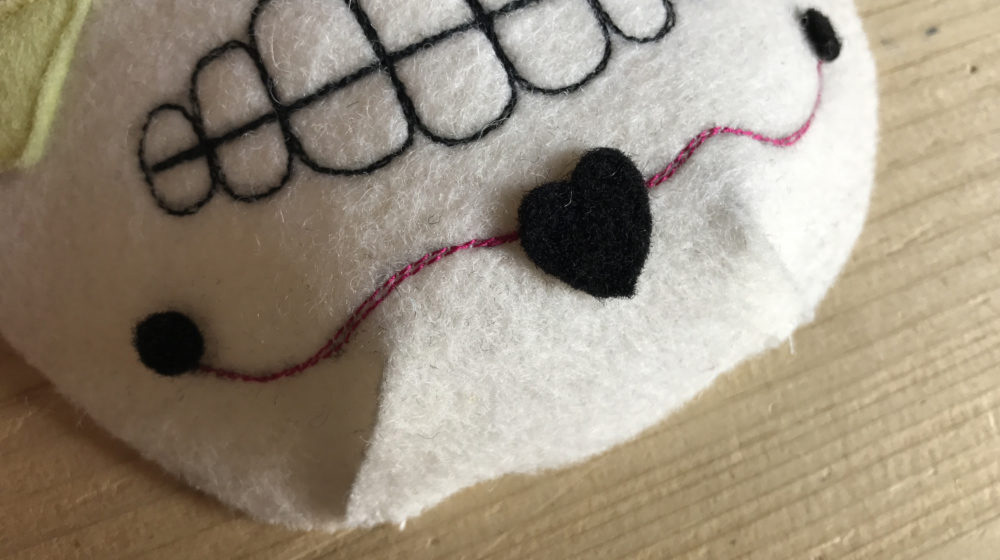
Then cut out 2 squares, 1 heart and 2 small polka dots from the black felt.
Stitch the squares onto the cheeks and the heart in the middle of the chin.
Instead, put the 2 polka dots either side of the chin. Then using the sewing machine, sew 2 slightly wavy lines that connect the heart to the polka dots. See the photo below.
The special characteristic of the thermoformable felt is that it can be molded when its been heated and once it cools down it keeps the shape it was molded into. Therefore, well use this technique to give the flowers that will go on the head of the skull, a three-dimensional look. Lets get started!
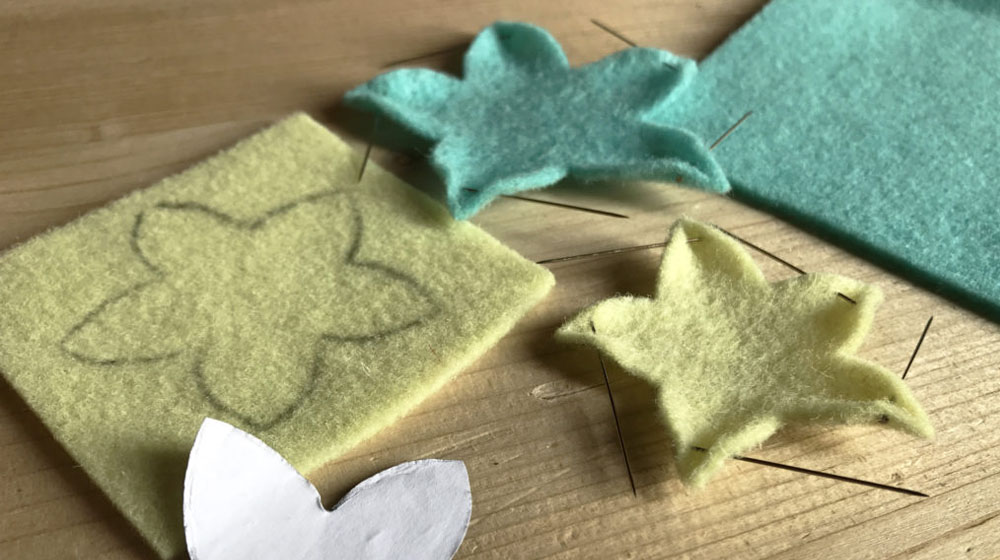
Cut out 6 flowers, 3 using Colour. Antille and 3 smaller ones using Colour. Light felt.
Put a pin through the ends of each petal, so as to pull them together and curl them (photo below). Place them on a baking tray and cook them at 130° for a few minutes.
Caution: Use an electric oven. If you prefer to use a microwave replace the pins with stitches.
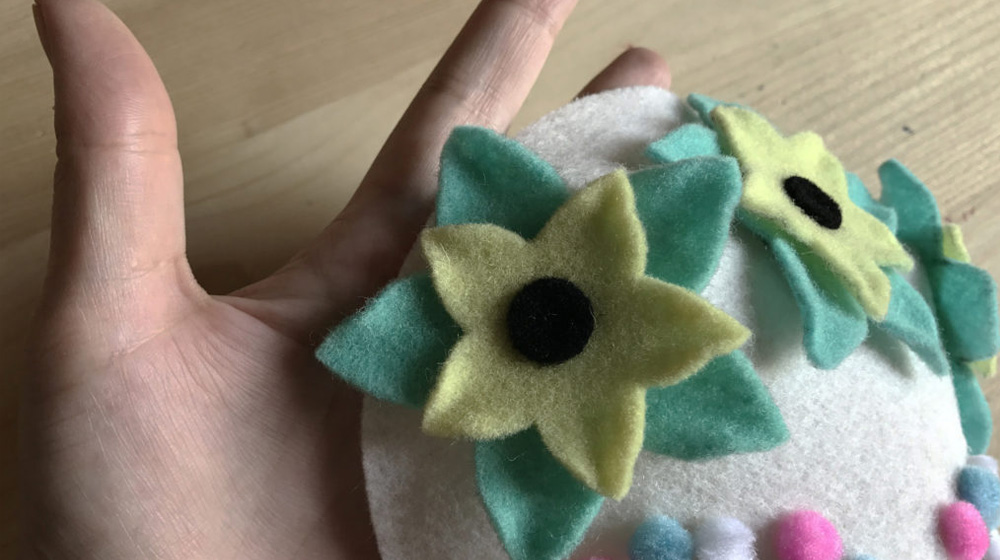
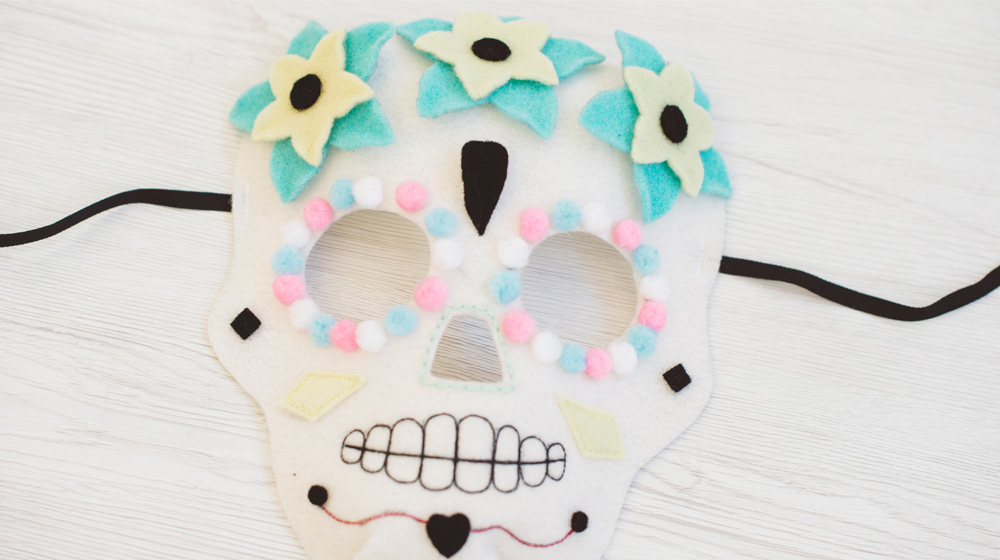
Once the felt cools down, put the little flowers on top of the big flowers, then add a black polka dot to the centre of each flower. Pin them onto the head of the mask.
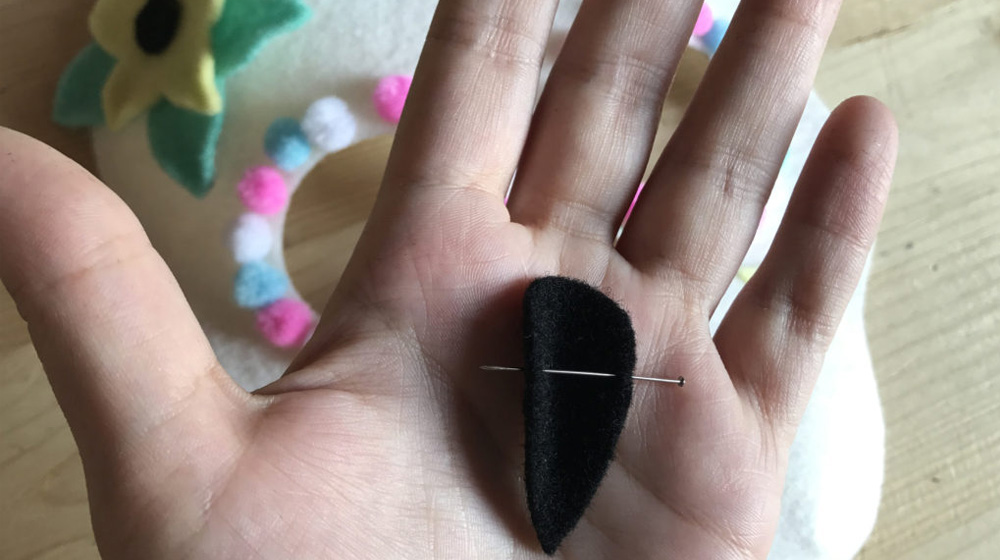
Make the most of the thermoformability of the felt to create a petal. Cut out a petal shape from a piece of black felt, fold it in half and secure the fold with a pin. Put it in the oven and cook at 130° for a few minutes.
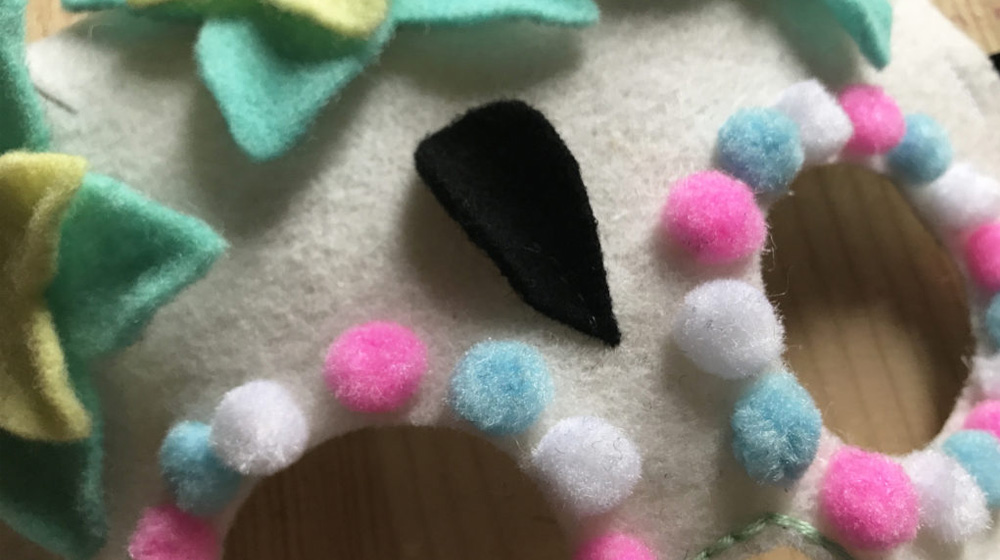
Let the felt cool then sew it on between the eyes.
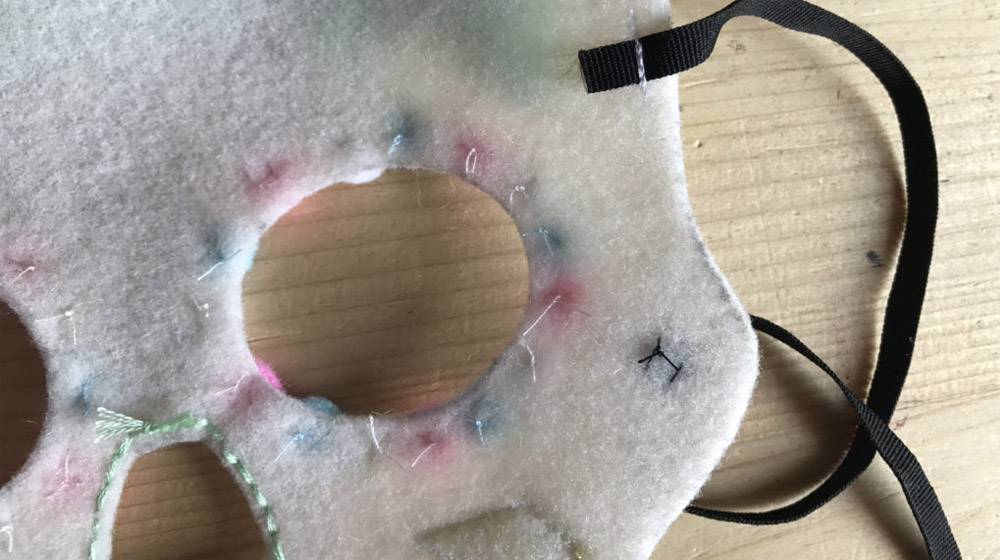
The very last step: sew the 2 0.5cm black grosgrain ribbons on the sides of the skull and the mask is ready!
Trick or treat?
We hope you like this tutorial as much as we do. And remember, if you would like to find out more and learn about thermoformable felt, you can find the right video tutorials for you on our YouTube channel.


WRITE A COMMENT