
Scarves, just like any other accessory, are something we can never have too many of. Length, width, type of yarn, colors, shape, and stitch pattern, just one of these details can change the entire look of a scarf and, as a result, your style.
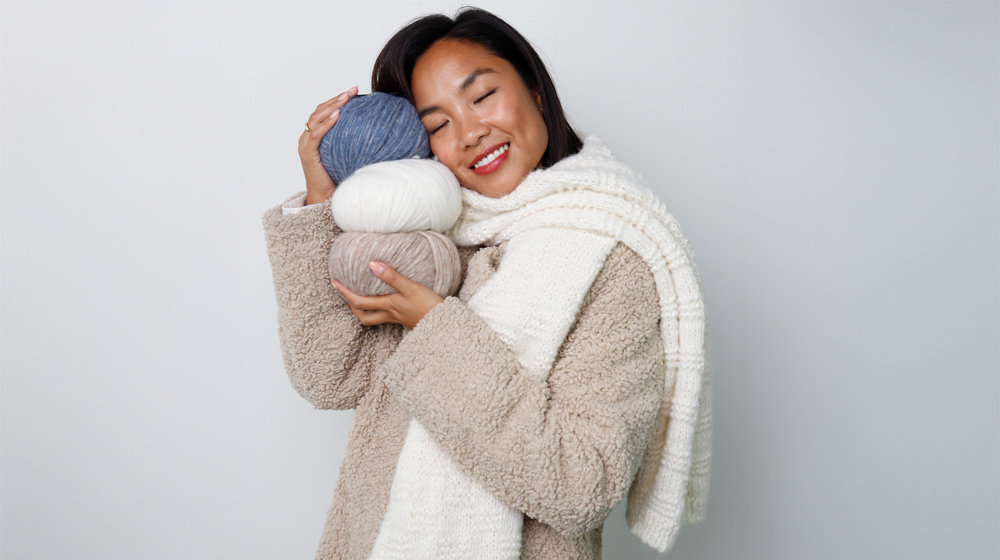
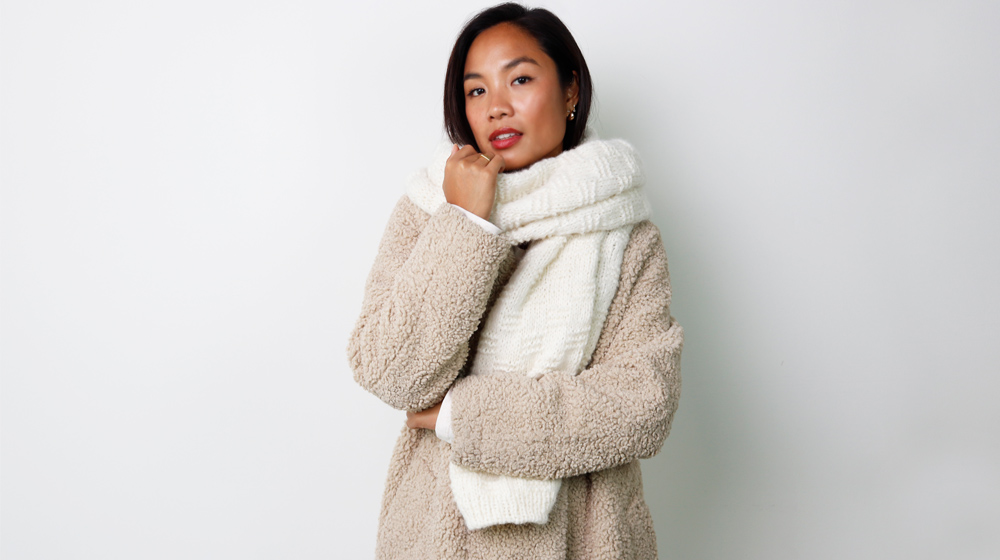
Today well learn how to knit a checkered scarf together. Its warm yet very light and soft, thanks to the chosen yarn, Sierra a super fluffy thread made with almost 70% alpaca.
Choose the Sierra color that suits you best and start knitting your scarf. It can also make a perfect Christmas gift for someone special, theyll surely think of you every time they wear it.
MATERIALS
Sierra yarn color Milk 313 g / 11 oz
Knitting Needles size n° 6 EU / 10 US
Wool needle
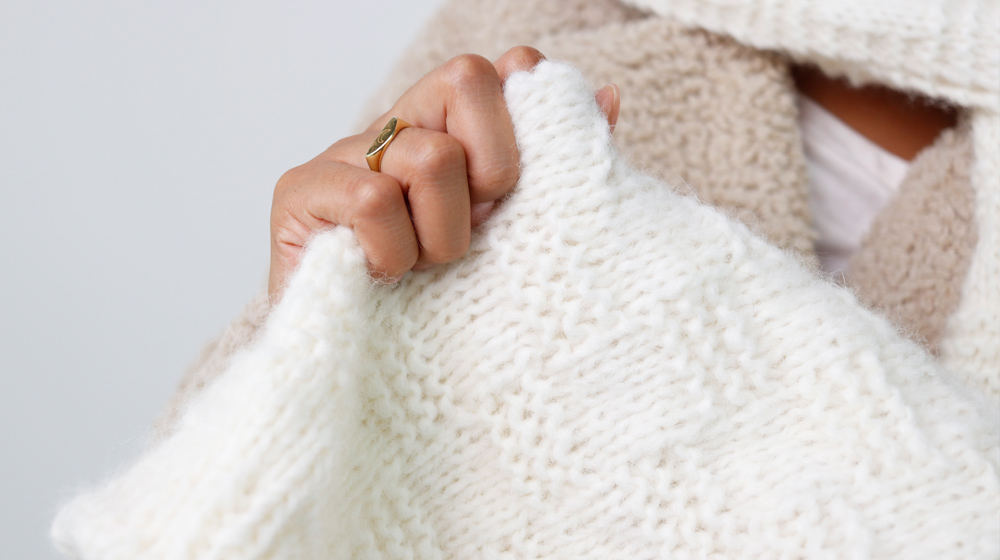
GAUGE CHECKERED STITCH
10 cm x 10 cm / 4" x 4"
13 stitches and 19 rows
STITCHES USED
Knit
Purl
Tubular Cast-On:
with a waste yarn of a different color, cast on half of the required stitches + 1, then with the working yarn, work 1 stitch in each following stitch, making 1 yarn over between each stitch.
Tubular Stitch:
row 1: repeat (knit 1, bring the yarn to the front of the work and slip the next stitch purlwise without working it) to the end of the row
row 2: knit the slipped stitches from the previous row, and slip the stitches that were knit in the previous row purlwise without working them.
1x1 Rib:
alternate 1 knit stitch and 1 purl stitch on both the right and wrong sides of the work.
Garter Stitch:
knit every stitch on both the right and wrong sides of the work.
Checkered Stitch:
(worked over a multiple of 10 + 5 stitches)
row 1: knit
row 2: repeat (knit 5, purl 5) to the last 5 stitches, knit the last 5 stitches
rows 3 to 6: repeat rows 1 and 2 two more times
row 7: knit
row 8: repeat (purl 5, knit 5) to the last 5 stitches, purl the last 5 stitches
rows 9 to 12: repeat rows 7 and 8 two more times.
Repeat rows 1 to 12.
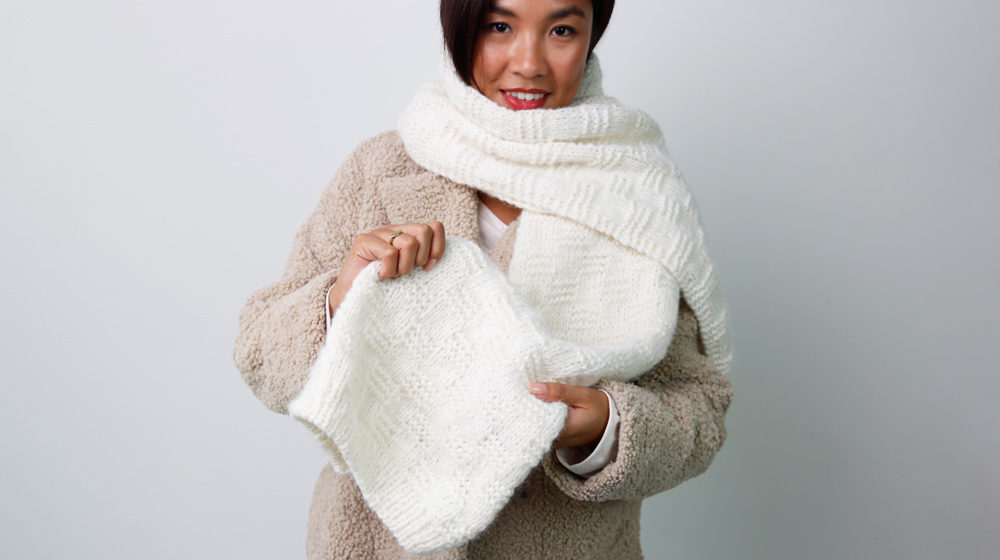
MEASUREMENTS
50x182 cm / 19.7"x71.7"
DIFFICULTY
Easy
INSTRUCTIONS
With knitting needles size n° 6 EU / 10 US cast on 71 stitches using tubular cast-on.
Row 1: knit the first 3 stitches, repeat (1 knit stitch, bring the yarn to the front of the work and slip the next stitch purlwise without knitting it) until the last 4 stitches, knit the last 4 stitches
row 2: knit the first 3 stitches, repeat (knit the slipped stitches from the previous row and slip purlwise the knit stitches from the previous row) until the last 3 stitches, knit the last 3 stitches
row 3: knit the first 3 stitches, repeat (1 purl stitch, 1 knit stitch) until the last 4 stitches, 1 purl stitch, knit 3 stitches
row 4: knit the first 3 stitches, repeat (1 knit stitch, 1 purl stitch) until the last 4 stitches, knit the last 4 stitches
rows 5 to 8: repeat rows 3 and 4 two more times. The 1x1 ribbing lower edge with garter stitch side border is finished
row 9: knit
row 10: knit the first 3 stitches, repeat (5 knit stitches, 5 purl stitches) until the last 8 stitches, knit the last 8 stitches
rows 11 to 14: repeat rows 9 and 10 two more times
row 15: knit
row 16: knit the first 3 stitches, repeat (5 purl stitches, 5 knit stitches) until the last 8 stitches, 5 purl stitches, knit 3 stitches
rows 17 to 20: repeat rows 15 and 16 two more times.
Rows 9 to 20 establish the checkered stitch pattern with garter stitch side border, repeat them 26 more times, then work rows 9 to 14 once more, reaching row 338. Now work rows 3 to 8 for the 1x1 ribbing upper edge with garter stitch side border, then work 2 rows in tubular bind-off. Bind off stitches with the darning needle using the knit stitch method.


WRITE A COMMENT