
Can tulle be used with the nuno felting technique? The answer is yes, of course! Confirming that and trying it out with our extra fine merino wool is Francesca Perinetti.
The nuno felting technique allows you to create combinations between really distinctive fabrics and fibres and get amazing results. The first thing that needs to be done when you delve into the world of nuno felting is to choose the materials youre going to use carefully and secondly, its advisable to make samples. These will help you to work out how the chosen fabric and the fibres are able to blend together and therefore also how they will felt; itll also help you understand how much the felting will affect the shrink factor.
MATERIALS
Silk tulle 120 cm x 140 cm
Extra fine merino wool tops Col. natural white about 10 g
Bubble wrap
2 pieces of bubble wrap bigger than the sample that we want to make about 80cm x 80cm
Scissors
Felting water sprinkler
Felting roller and elastic bands
Mild soap
A bowl
Towels
Before I start taking you through the steps on how to create a perfect nuno felt in tulle and extra fine merino wool, Id like to tell you briefly what were going to do. The fabric is made up of two layers, one is decorative and the other purely structural. The decorative layer is the tulle fabric whereas the second one is the layer of extra fine merino wool, which will be the back of the final fabric. Its really important to lay out the wool in small quantities like a glue but only where its absolutely necessary, leaving some areas free. In this way we can check how the tulle has been arranged better without overdoing it where its not needed.
After this brief introduction, well explain felting with the nuno felt technique in detail.
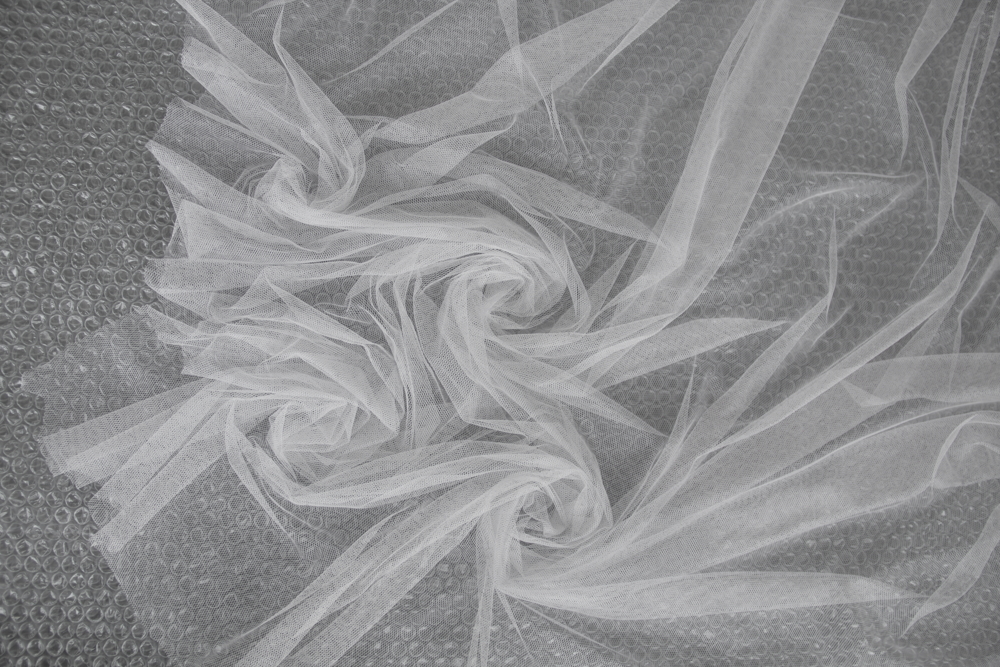
After preparing the work area, arrange the silk tulle on a base of bubble wrap with the bubbles facing up and begin working it by creating the first spiral/rose (fig. 1). You can start from one of the corners, like I did, or from the centre by gathering the fabric and turning it clockwise or anticlockwise as you please.

METHOD
Now create the second one
(fig. 2), positioning it quite near to the first one without overlapping them.
Youll get quite deep creases between the spirals.

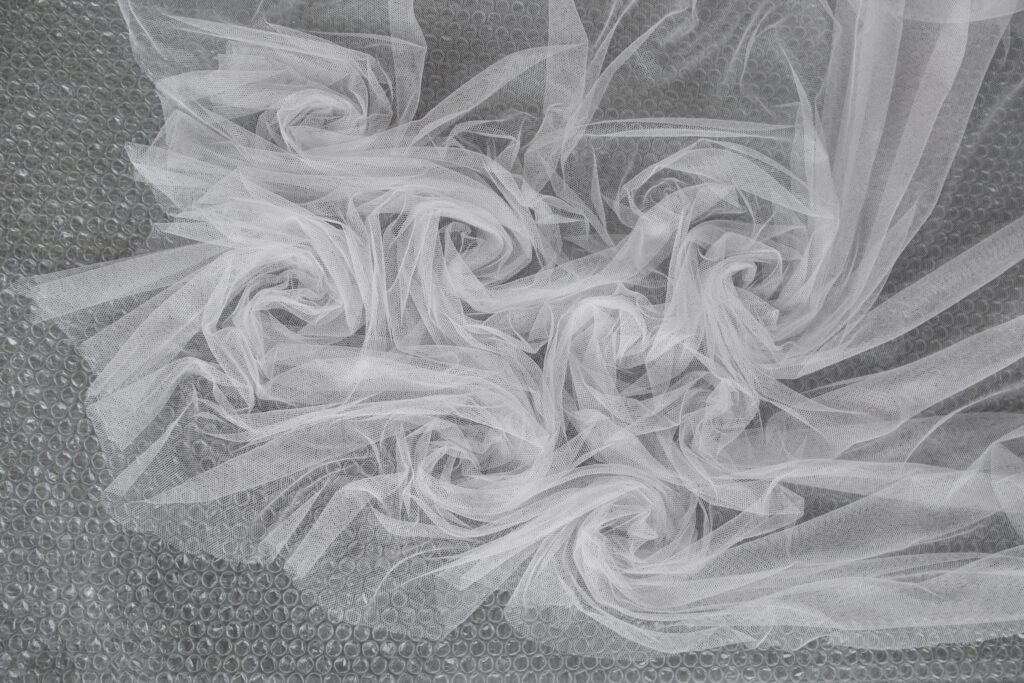
Go on like this until youve used all of the piece of tulle that is left (fig. 3-7), resulting in a piece of about 45cm x 45cm. You can arrange it how you prefer with less or more spirals, nearer or further apart, scrunching it up and working the fabric as you please.


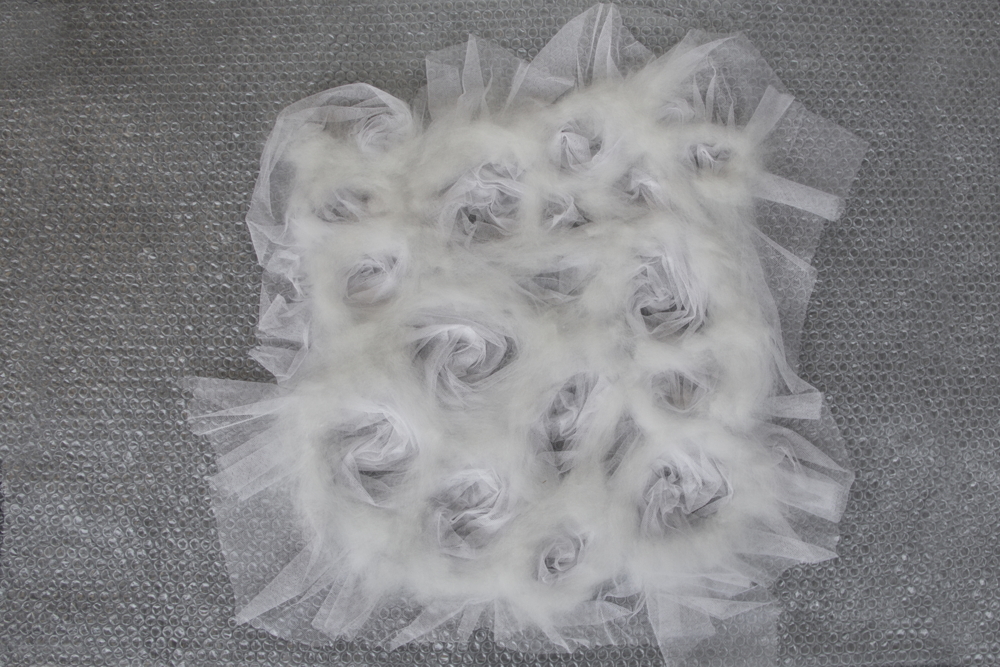
Now lay the wool out. Lay out the merino wool fibres but only around the spirals and on the creases that have formed between the spirals. This allows the spirals to remain transparent as opposed to the rest of the pattern which will be covered with wool, which will keep the shape thanks to the wool attaching to the rest of the tulle during felting. This will act as an outline preventing them from opening.
Then lay a single thin and even layer of wool around the spirals, spreading out small tufts placed at 45-degree angles and at right angles to each other (fig. 8-11). Pay attention to the edges of the piece and remember to close even the outermost ones depending on how much of an uneven effect you want.


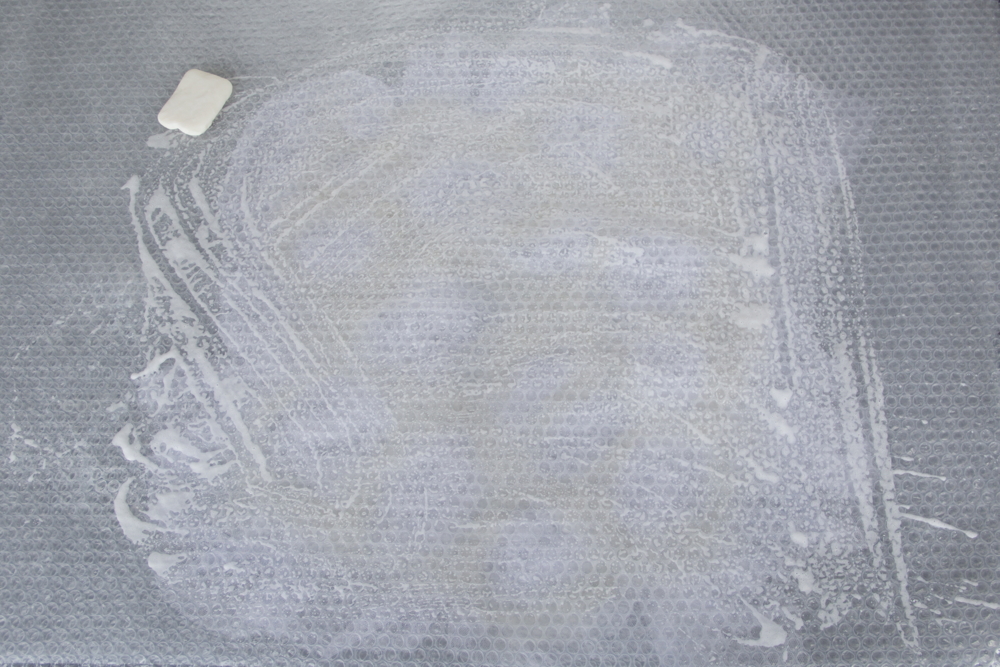
Once this phase has finished, the felting can begin. Wet your work with lukewarm water and soap (fig. 12) using a felting water sprinkler and cover the project with the other piece of bubble wrap with the bubbles facing up. Wet the surface slightly to make it easier to glide your hands over it (fig. 13) and start massaging it lightly so that the fibres absorb the water well, whilst trying to move the fabric as little as possible.

Wrap all of it around a tube and start the rolling process, first gently then harder so the wool penetrates the tulle. After a while unroll it and check it and if necessary, rearrange the fabric. Change direction and continue rolling. Repeat this procedure until the wool fibres cant move around inside the tulle giving it a sort of solidity. You can check with your fingers that theres no movement between the layer of wool and the tulle one (fig. 14), this means that the wool fibres have passed inside the tulle, clung to it and they have absorbed it. At this point the sample will have been subjected to just some of the final shrinkage (fig. 15-16).


You can now move on to the beating phase to make the fibres more compact, working and beating the fabric on the tabletop (fig. 17). Youll see both sides starting to shrivel up caused by additional shrinkage (fig. 18-20).


Lastly, rinse it and let it dry. The final sample size will be about 30cm x 30cm with a shrinkage factor of about 35%.
Comparing its texture now, at the end of the felting process (fig. 21), to when we started you can see that overall, its quite flat compared to how we expected it to be. Most of the creases that you created are stuck together and incorporated into the wool and you cant really see the transparent areas. This is because tulle has a very wide weft and the wool moves around the layers easily. By experimenting with more solid fabrics you will notice that the creases are more outlined and come away from the base easier.

So, we need to get back the three-dimensionality and lightness of the texture and lift up the creases one by one, gently detaching them from the surface (fig. 22). I suggest doing it when the fabric is dry or a bit damp, if the creases are really deep, like these are, its easier to identify them, and to start from the edges or from the outline of the empty spaces where they are more visible (fig. 23).
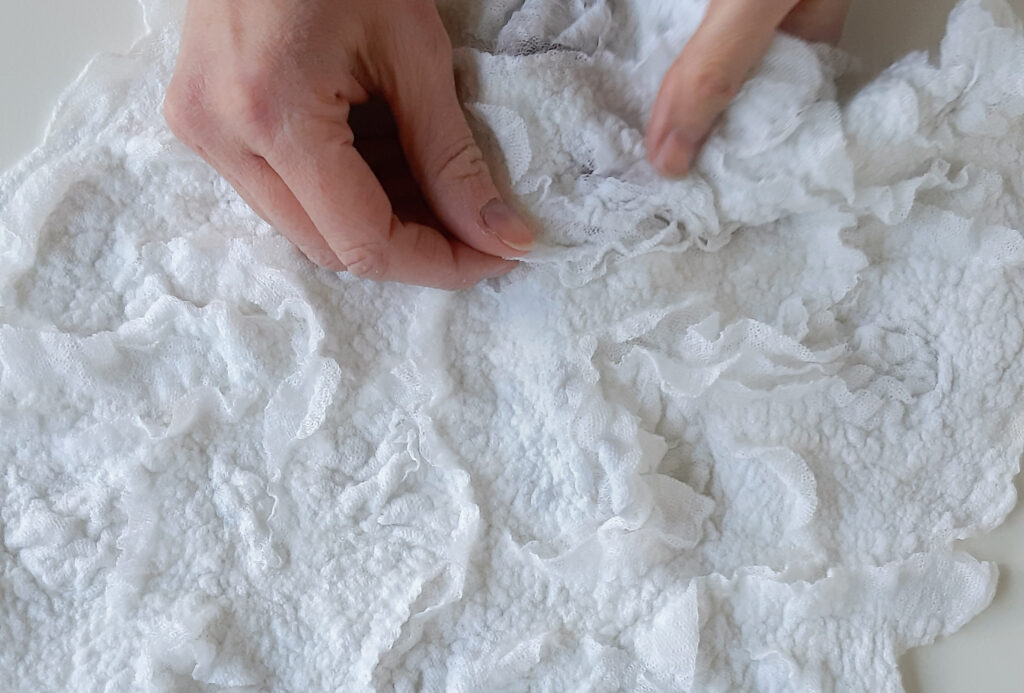

Proceed by lifting up the more noticeable ones and then those more hidden until youre happy with the outcome (fig. 24).

This last step is probably the most enjoyable one as it allows you to bring your work to life. You can decide if and how much you want to bring out the texture.
Keep in mind that as you lift up the creases the compactness of your fabric gradually reduces (especially when you get to the ones near the base), so try and find the right balance between compactness and lightness depending on what you want to create. To get a really full texture (with waves, relief, layers or frills) my advice is to increase the quantity of fabric so that the creases, especially the ones on the surface, come away easier. Remember that really thin fabrics (in particular tulle and gauze) have a lower yield, in terms of chunkiness, than thicker ones with the same quantity. During the felting process they tend to absorb into the wool and the other materials, reducing the three-dimensional effect compared to the texture you initially set out to make.
If youd like to learn even more about nuno felting, we recommend reading Gaia Girards tips too.
WRITE A COMMENT