
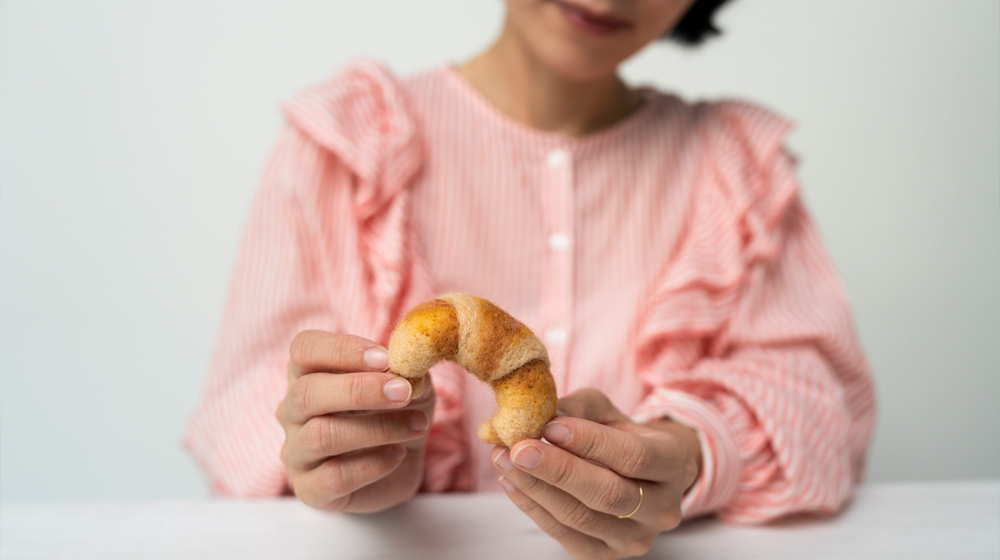
Today we will learn how to make a croissant using the needle felting technique. A croissant that can very easily be transformed into a brooch! The first thing you need is our exclusive blend of New Zealand wools, Maori. This is a perfectly balanced mixture designed especially for those who work with needle felting. The second thing you need is, of course, a tutorial to guide you through this crafty journey. The colours chosen for this project meant to perfectly replicate the golden shades of a perfectly baked, delicious croissant are Acacia, Saffron, and Bread.
And now, let the fun begin.
MATERIALS
Carded Maori wool in Acacia, Bread, and Saffron for a total of 300 g
Thin needles for felting
Needle felting pad 20 x 30 cm
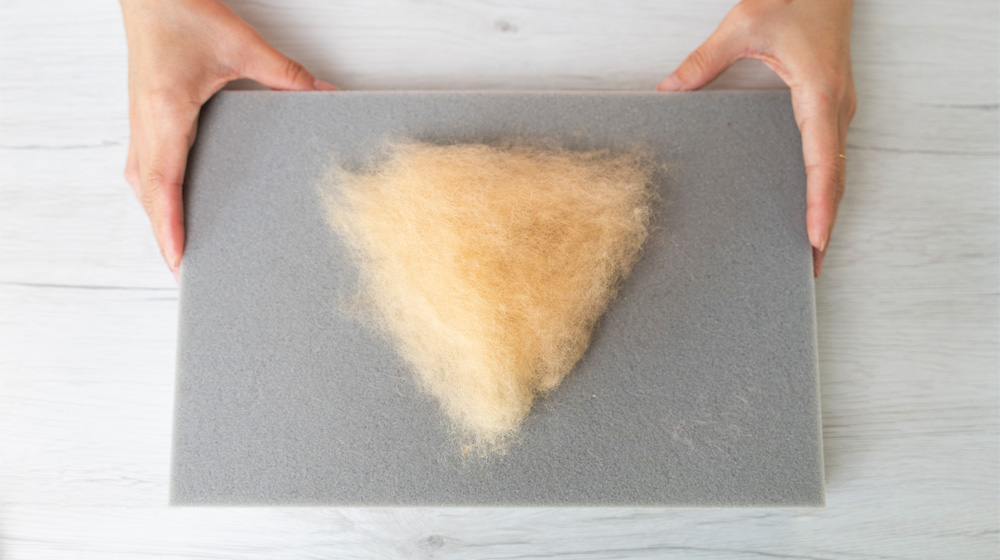
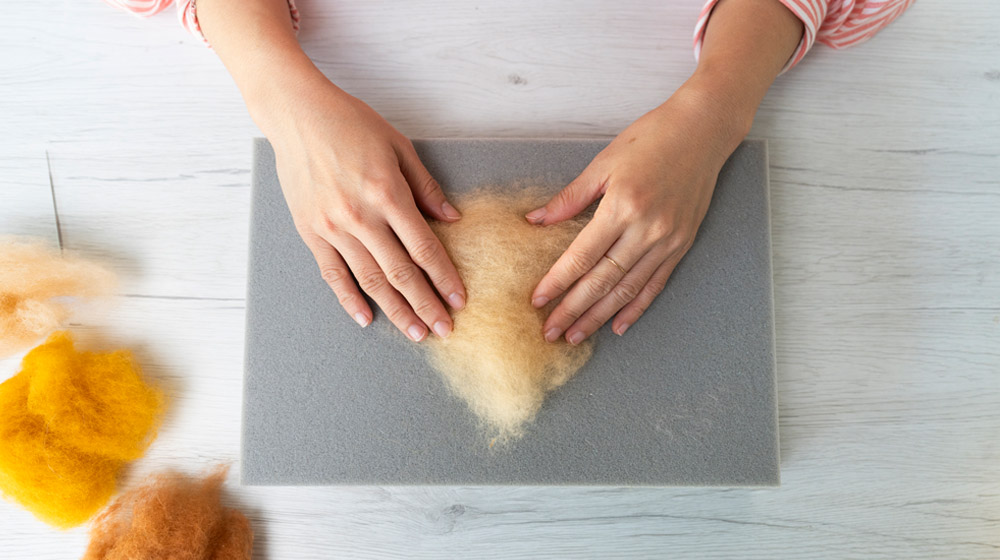
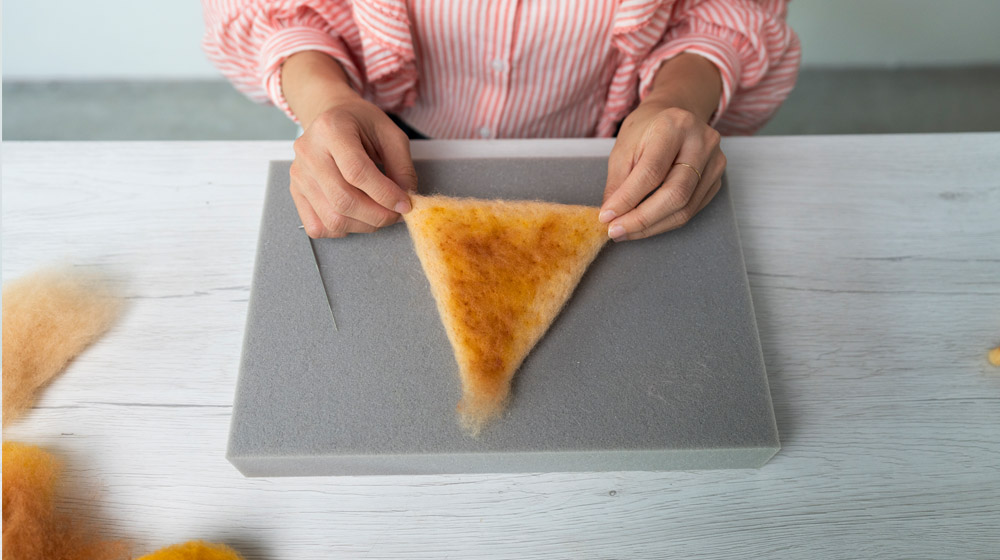
Create the base shape: take the Acacia-coloured wool and form an equilateral triangle. Spread the wool tufts evenly on the felting mat, creating a fibre layer about two fingers high.
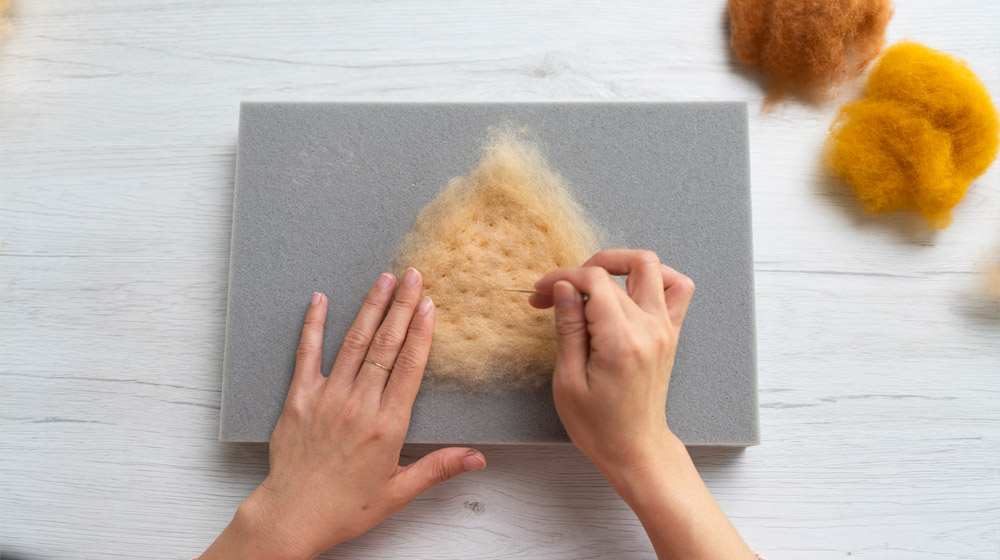
Begin felting the triangle: start felting the triangle with the needle, working from the centre outwards to the edges. When the entire surface is evenly and firmly felted, turn the work over and repeat the same process on the other side.

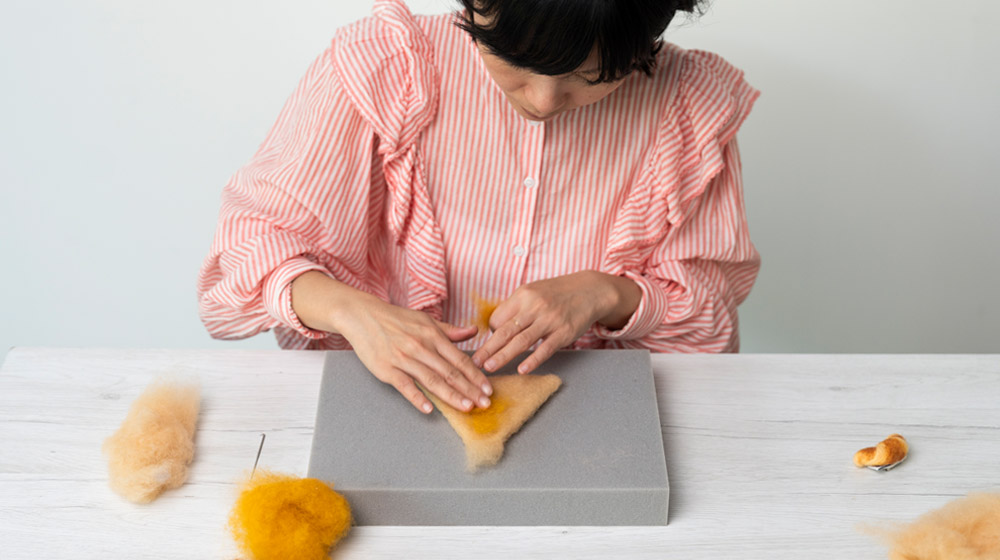
Add colour layers: take some tufts of Saffron-coloured carded Maori wool and lay them over the triangle, making sure not to completely cover the base shape. Then, take some Bread-coloured tufts and spread them over the Saffron layer. Again, do not completely cover the triangle with the Bread layer. Felt the entire surface well so the fibres blend together.
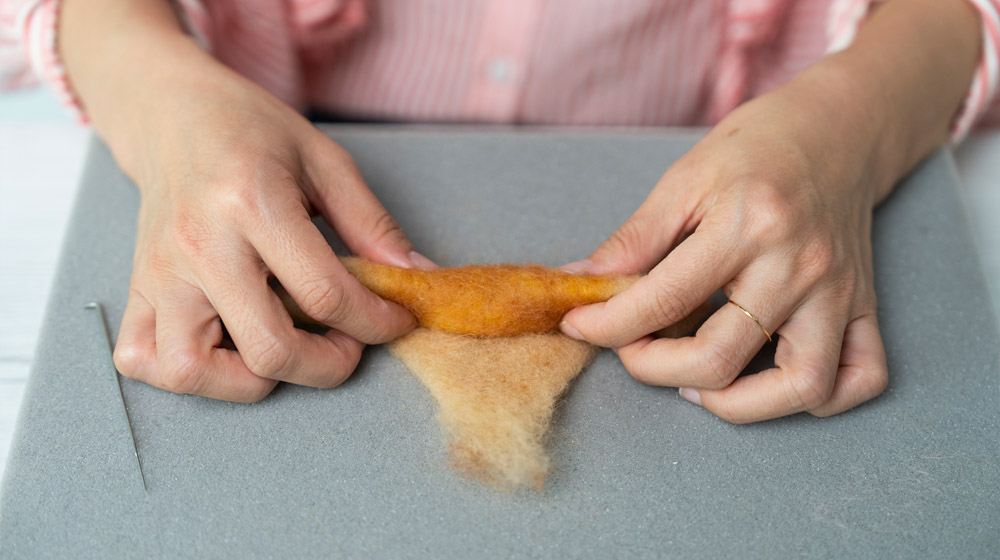
Roll into a croissant shape: start rolling the triangle from the base towards the tip, just like shown in the reference image, until you reach the top point.
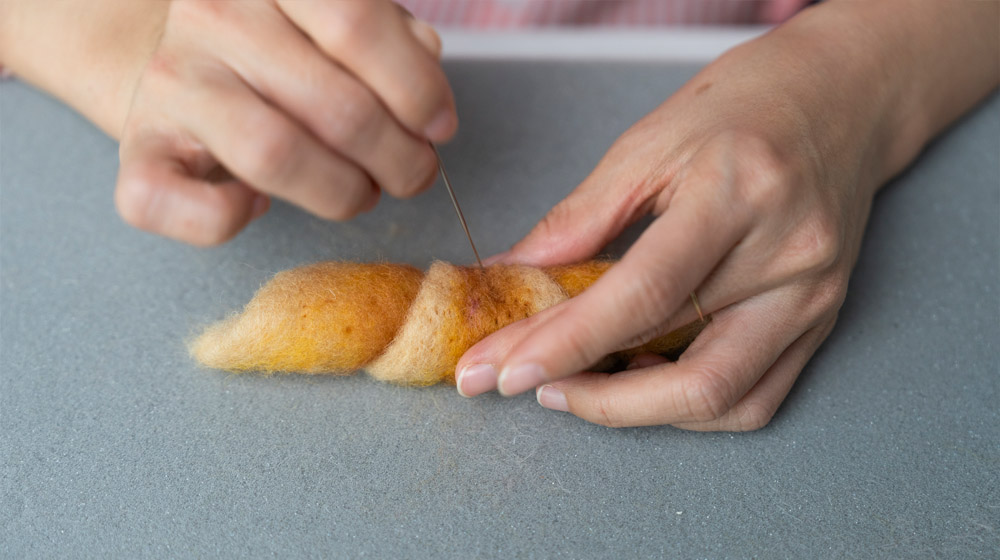
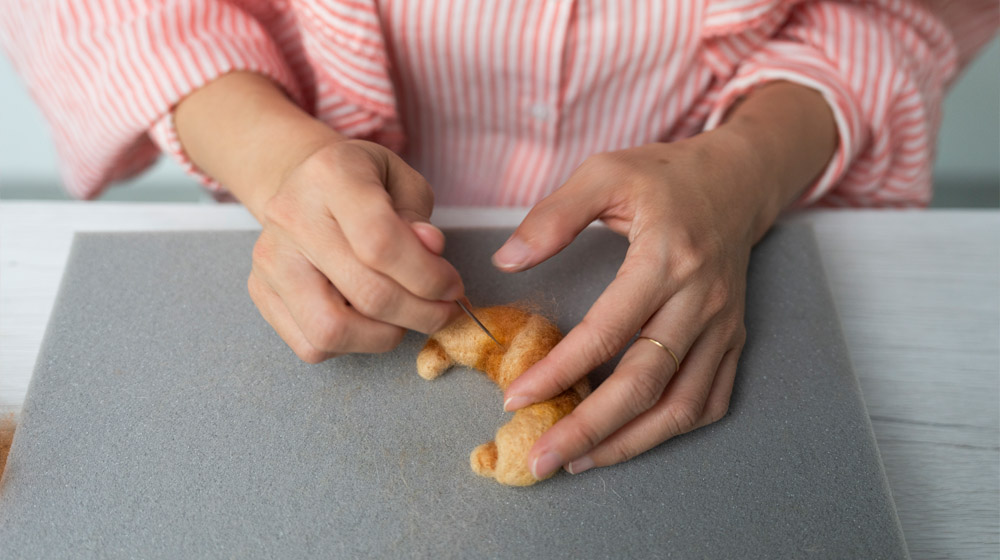
Felt the rolled shape: take the needle again and start felting the rolled shape, working from one end of the croissant and gradually moving across. At this stage, pay special attention to the folds the goal is to blend all the parts of the croissant smoothly together.

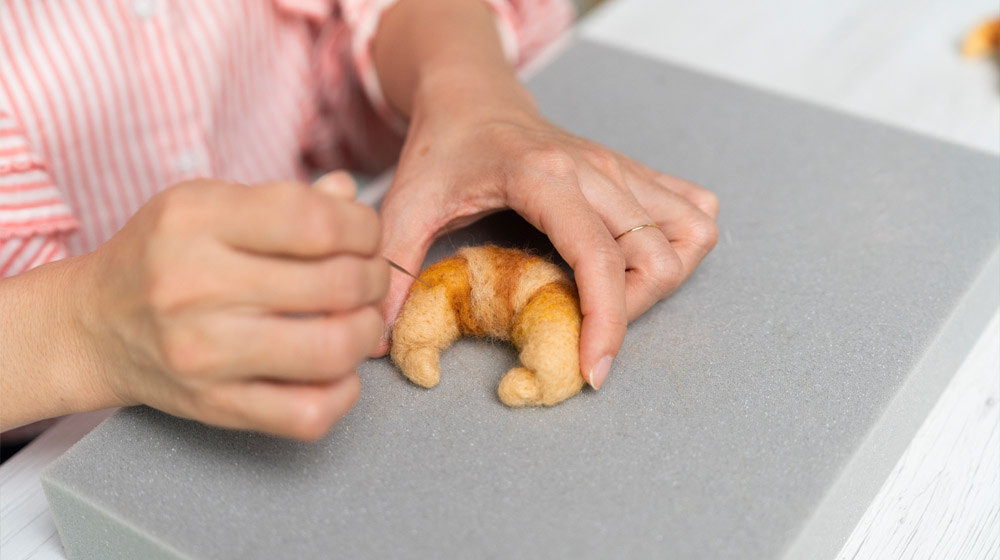
Shape the croissant ends: finally, fold both ends of the croissant inward and needle felt them in place to stabilise the final shape.


WRITE A COMMENT