
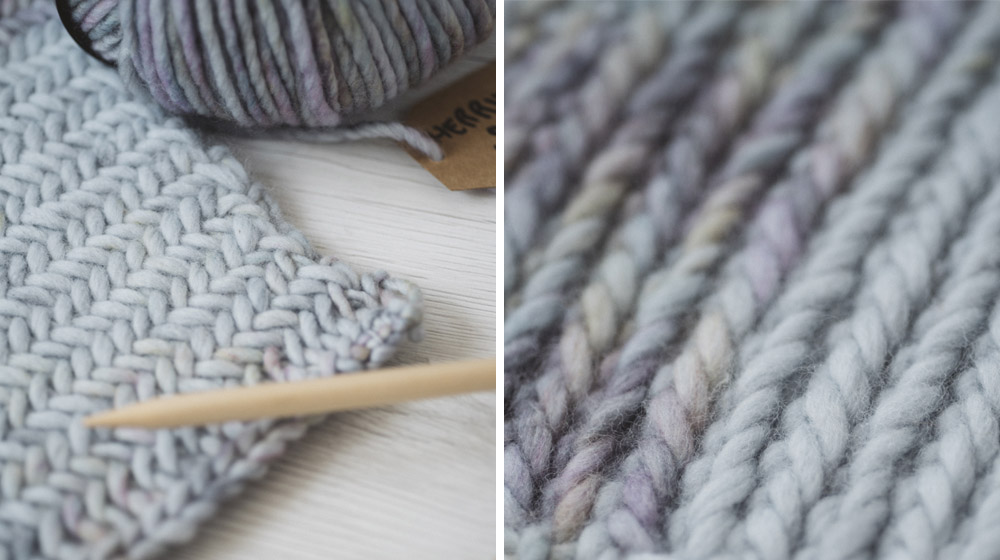
Today were going to teach you how to do the Herringbone stitch. As this unique stitch tends to tighten up, equip yourselves with much bigger needles than the ones indicated on the label of the yarn you want to use.
Take for example, weve chosen our fabulous Piuma yarn and the recommended needles for it are n° 8 EU / 11 US but weve gone for n° 10 EU / 15 US ones to do the Herringbone stitch.
Lets get started!
MATERIALS
Piuma yarn col. Little Mermaid 100 g / 3.5 oz
Knitting needle n° 10 EU / 15 US
DIFFICULTY LEVEL
Intermediate
METHOD
Cast on an even number of stitches.
Row 1: purl
row 2: right side of the work. Knit 1, inserting the right needle into the 2 stitches on the left needle, knit 1 and drop the first. Repeat for all the row. Knit the last 2 stitches of the left needle
row 3: wrong side. Purl 1, insert the right needle into the 2 stitches of the left needle and drop the first stitch. Repeat for all the row. Purl the last 2 stitches of the left needle.
Repeat rows 2 and 3 alternating them.
Have you ever come across a stitch quicker than this, yet so impressive at the same time? We havent. Lovely, easy-peasy, and ideal for those who have little time on their hands. Looking for that something extra? Our printed Piuma!
Speaking of Piuma, check out the tutorial on the English fisherman's rib stitch which has also been done using our cherished pure merino wool sliver. The outcome? See for yourselves!


WRITE A COMMENT