
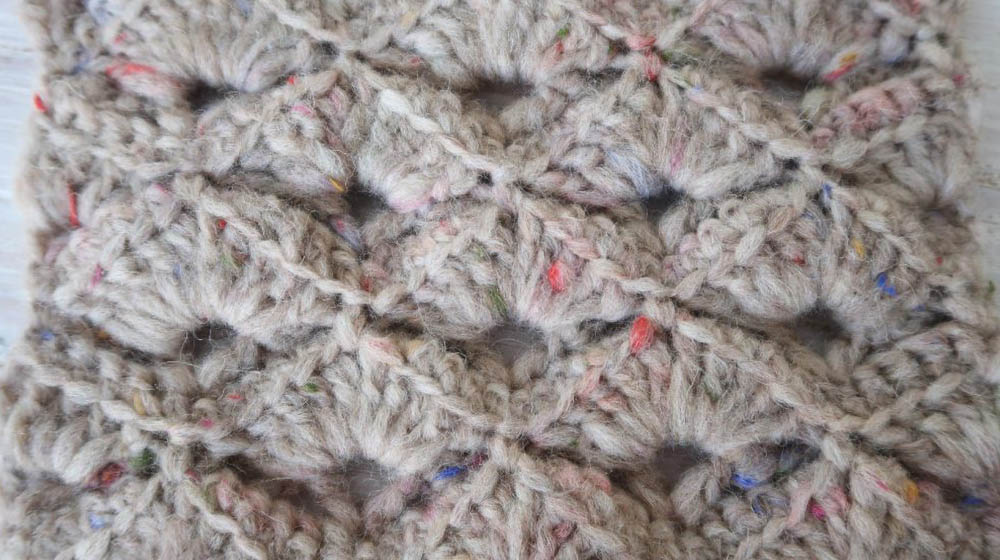
Hi crochet lovers! Im Helena, from Ahuyama Crochet, and today I will show you how easy it is to add some texture to the regular crochet shell stitch that we all know. We will learn how to crochet the textured shell stitch, a warm, dense and beautiful stitch. For this tutorial I chose the fabulous Cyrcus by DHG. A chubby and soft yarn made of baby alpaca and merino wool, great for these cold days that are now approaching. From a small scarf to a big blanket, I hope you agree with me on this one. How lovely is the result of blending this elegant stitch with this amazing yarn?
MATERIALS
Cyrcus yarn col. Black Cherry 100 g / 3.5 oz
Cyrcus yarn col. Indigo 100 g / 3.5 oz
Crochet hook n° 4 EU / G-6 US
METHOD
Lets begin! This yarn is recommended for a n° 9 EU / M-13 US hook, but we can use a smaller hook for a tighter result, or a bigger hook if we want a spongy kind of look. I used a crochet hook n° 4 EU / G-6 US.
These are the abbreviations that we will be using along the way.
ABBREVIATIONS KEY
ch = chain
st = stitch
sc = single crochet (UK double crochet)
dc = double crochet (UK treble)
flo sc = front loop only single crochet (UK front loop only double crochet)
shell = on same stitch 5 dc 1 ch 5 dc
*
* = repeat instructions between asterisks
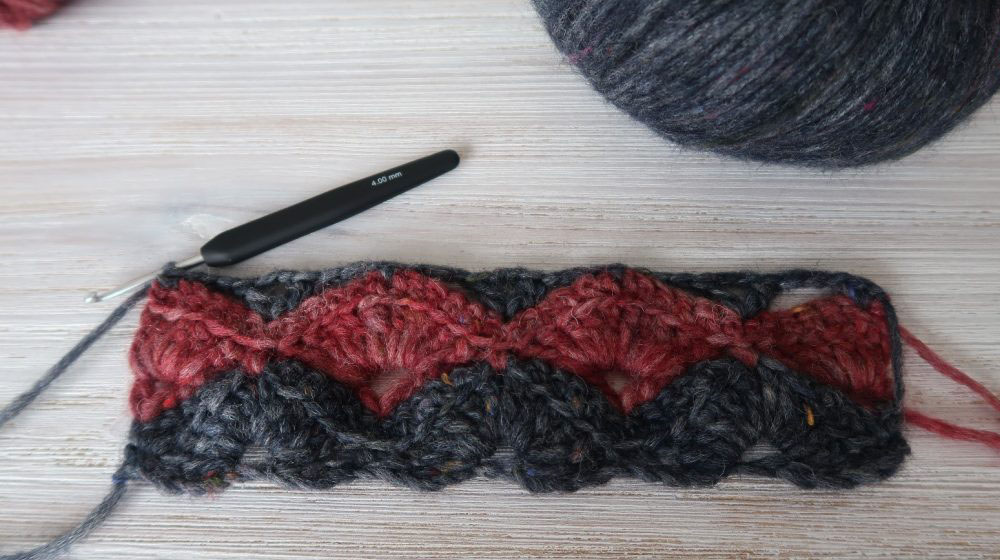
Foundation: ch multiples of 10 + 2 (for the sample on the picture I made 30 + 2 ch)
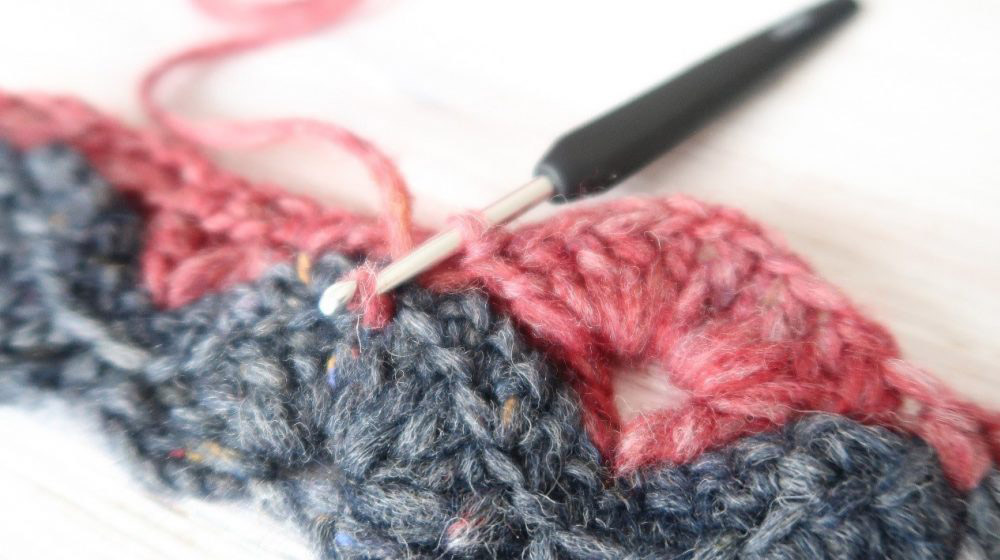
row 1: 1 sc on second ch from hook, *skip 4 ch, 1 shell, skip 4 ch, 1 sc*

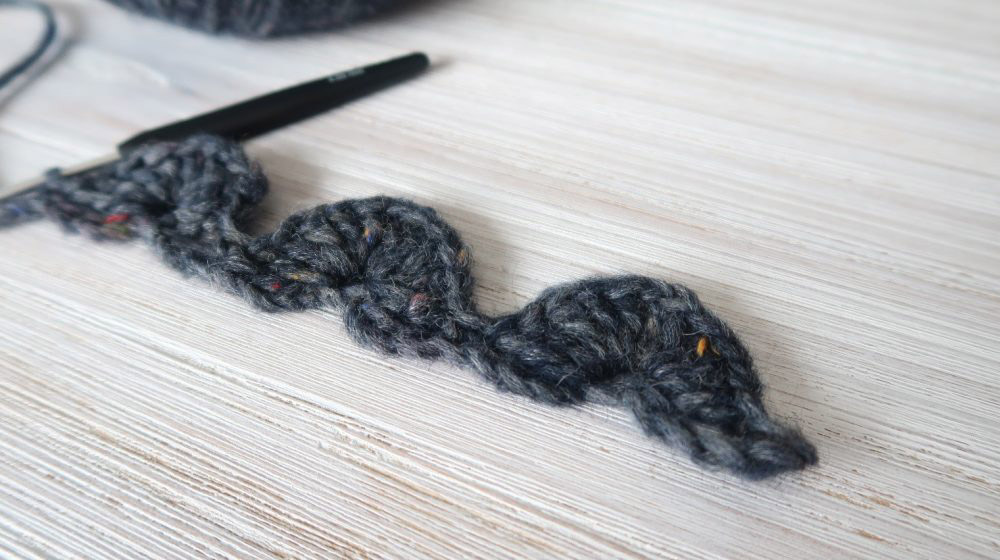
row 2: ch 1, turn, 1 sc, 5 flo sc, ch 1, *11 flo sc, ch 1*, 5 flo sc, 1 sc.

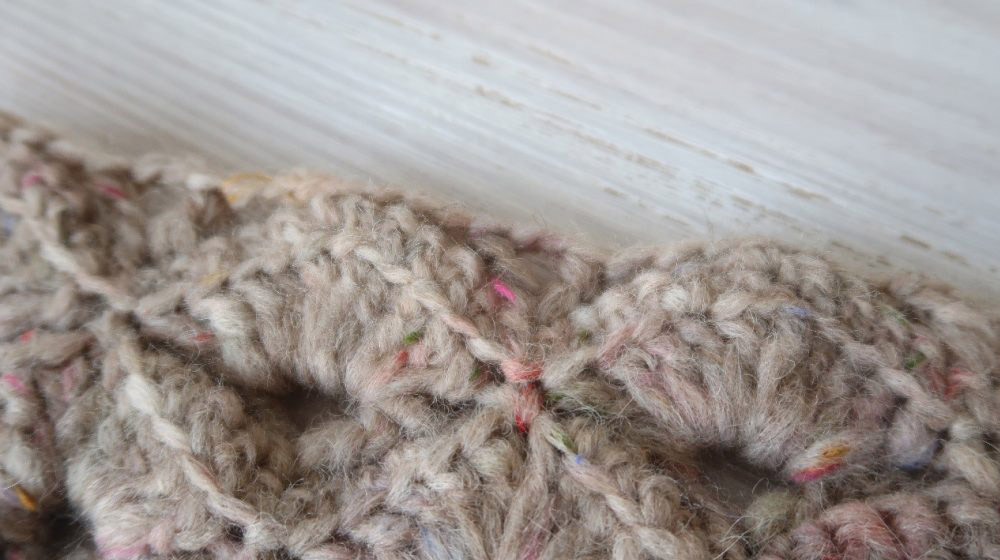
Be careful to work only on the front loop of the previous stitches. This row is key for the texture as you can see on the picture below.

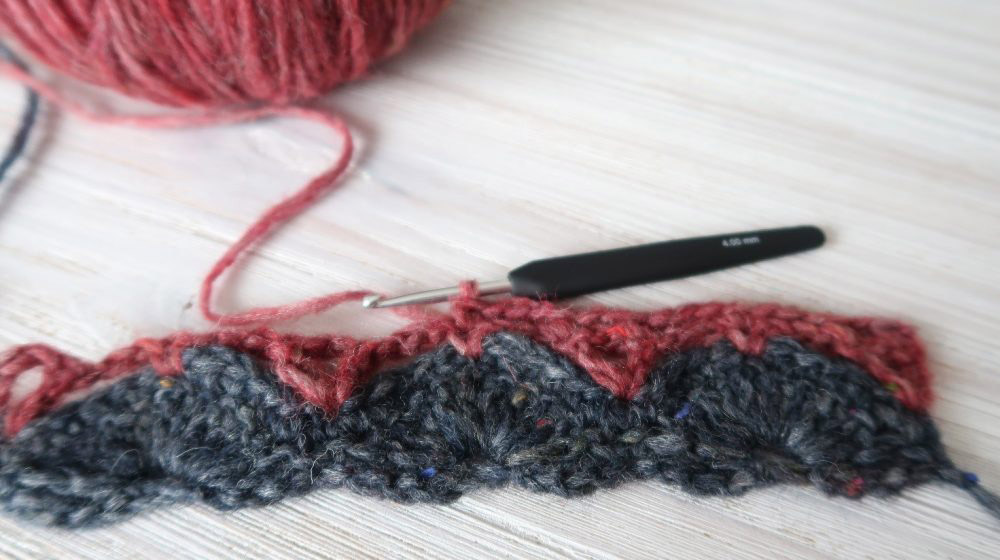
Row 3: (you can change color here) ch 4, turn, 1dc on first st, ch 3, skip 5 st, 1 sc on ch space, ch 3, skip 5 st, *(1dc + ch 2 + 1dc) on same st, ch 3, skip 5 st, 1sc on ch space, ch 3, skip 5 st*, (1 dc + ch 1 + 1 dc) on last st


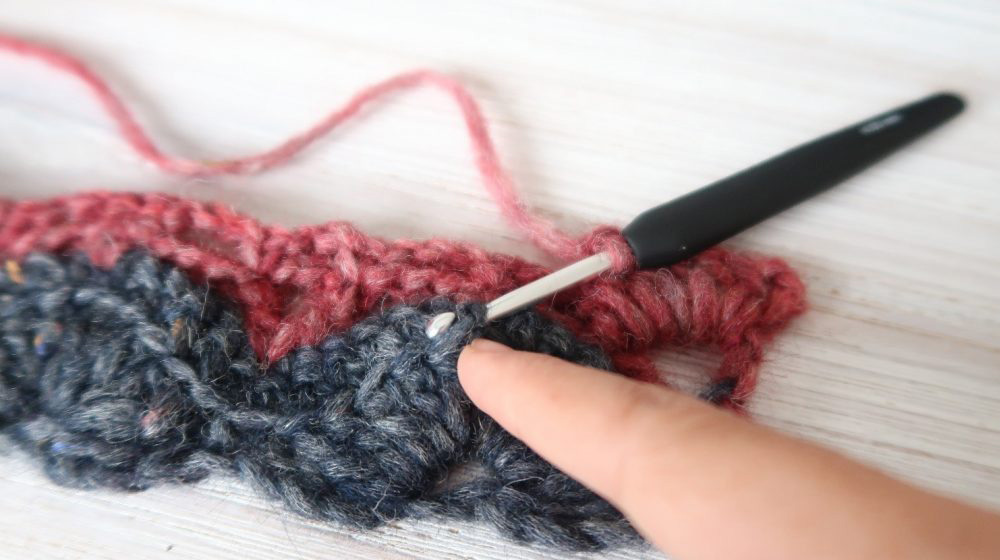
row 4: ch 1, turn, 1 sc on first st, ch 1, 1 sc on next st, ch 3, 1 sc on next st, *ch 2, 1 sc on next st, ch 3, 1 sc on next st, ch 3, 1 sc on next st*, ch 1, 1 sc on third ch from last row
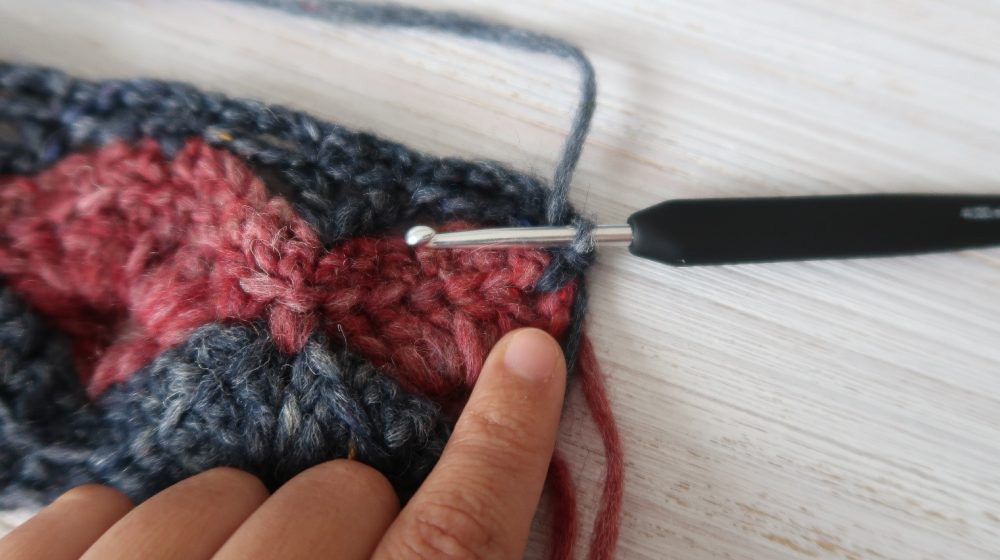
row 5: ch 4, turn, work 5 dc on the V shaped space located 2 rows below, 1 sc on ch space located 3 rows below, *1 shell on the V shaped space located 2 rows below, 1 sc on ch space located 3 rows below*, 5 dc on the V shaped space located 2 rows below

row 6: ch 2, turn, 11 flo sc, *ch 1, 11 flo sc*, 1 sc on third ch from previous row
row 7: (you can change color here) ch 1, turn, 1 sc on first st, ch 3, skip 5 st, (1 dc + ch 2 + 1dc) on same st, ch 3, skip 5 st, *1 sc on ch space, ch 3, skip 5 st, (1 dc + ch 2 + 1 dc) on same st, ch 3, skip 5 st*, 1 sc on the 2 ch space from previous row

row 8: ch 1, turn, 1 sc on first st, *ch 3, 1 sc on next st, ch 2, 1 sc on next st, ch 3, 1 sc on next st*

row 9: ch 1, turn, 1 sc on space between 4 ch and dc located 3 rows below, 1 shell on the V shaped space located 2 rows below, *1 sc on ch space located 3 rows below, 1 shell on the V shaped space located 2 rows below*, 1 sc on last dc from 3 rows below.

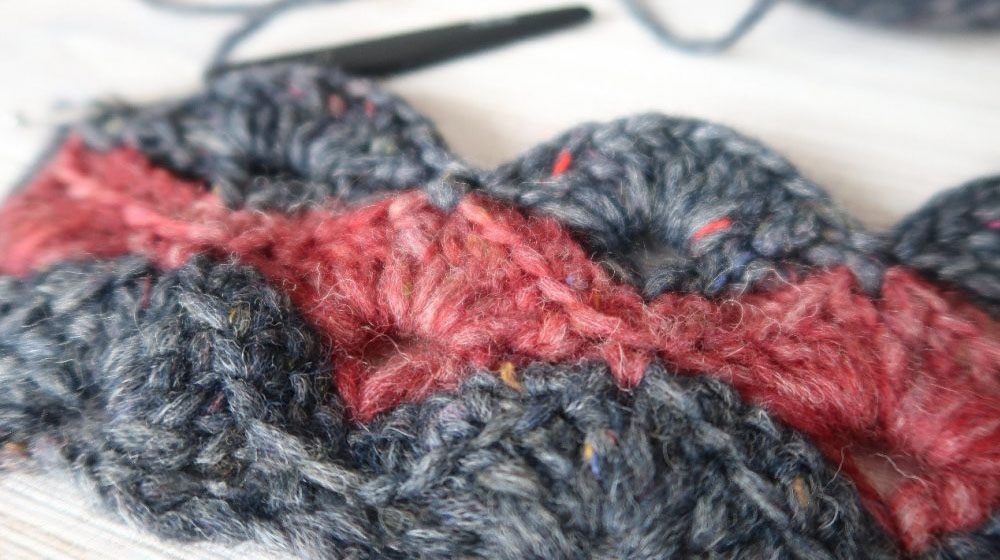
And this is all! Now repeat the instructions from row 2 to 9, until achieving the desired length for your project. You can both finish the project on a shell row or (for a plain ending) you can finish on a V space row, like row 3 or row 7.
I hope you enjoyed this tutorial. Remember you can always watch the video tutorial, where you can crochet along with me, step by step.

Think of a cozy crochet cowl, a nice scarf, a new cushion for your sofa, or even a big blanket this stitch is so versatile that we cant wait to hear what projects are you planning for it.
See you soon!


WRITE A COMMENT