
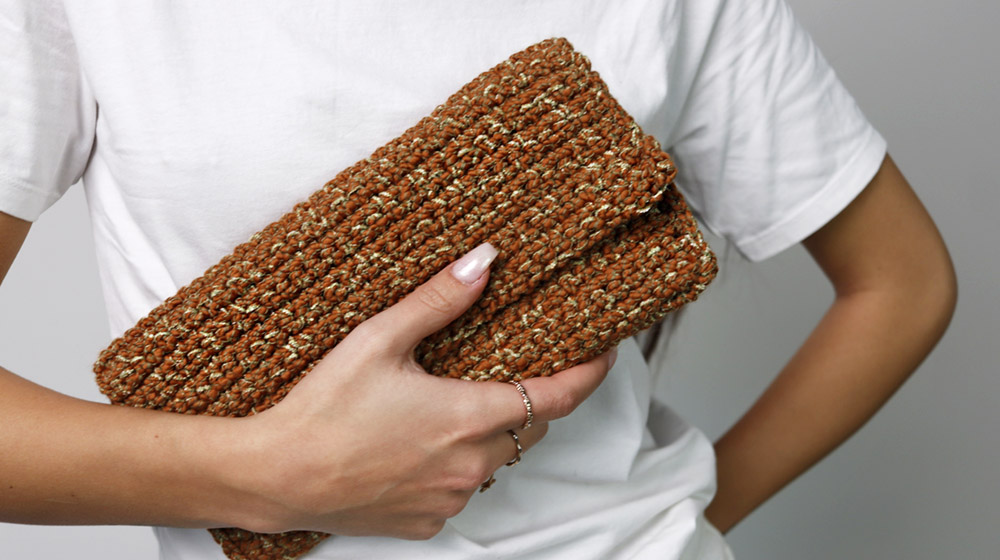
This crochet clutch tutorial is a simple project, perfect for beginners. All you need to know is how to crochet a single crochet stitch. The clutch is sewn using crochet, while the inner lining is made from felt and sewn with a needle and thread. For the closure, two magnetic buttons are used.
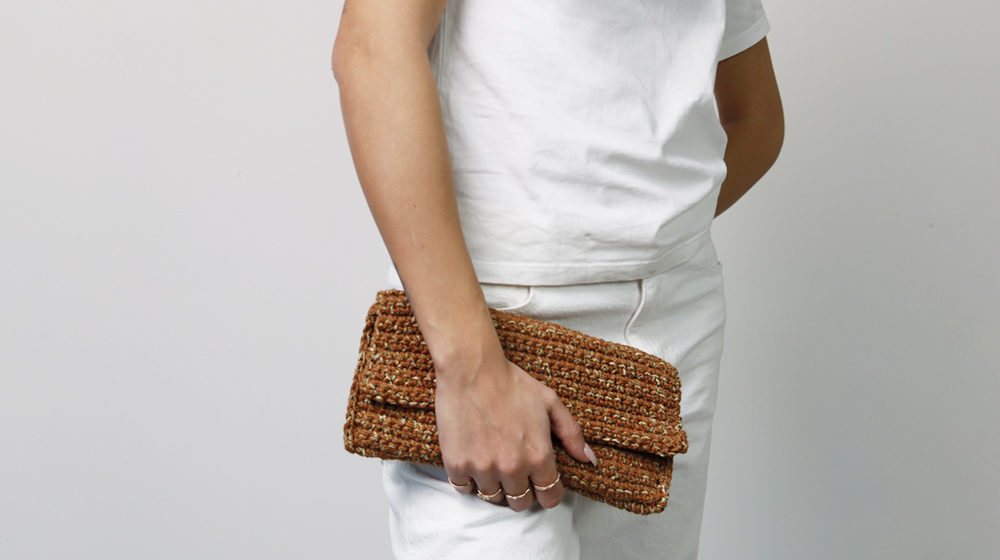
Make this clutch for yourself or as a gift for someone special! And remember, the beauty of this clutch lies in the Marni yarn, a unique creation derived from our iconic Piuma yarn. Marni is a masterpiece of twisting, Made in Prato, and available exclusively from us.

MATERIALS
Marni yarn in color Pie, 200g / 7oz
Crochet Hook n° 3 EU / D-3 US
2 sheets of felt in matching color
2 magnetic buttons
Yarn needle
GAUGE SINGLE CROCHET STITCH
10 cm x 10 cm / 4" x 4"
12 single crochet stitches and 13.5 rows
CROCHET STITCHES USED
Chain
Single Crochet
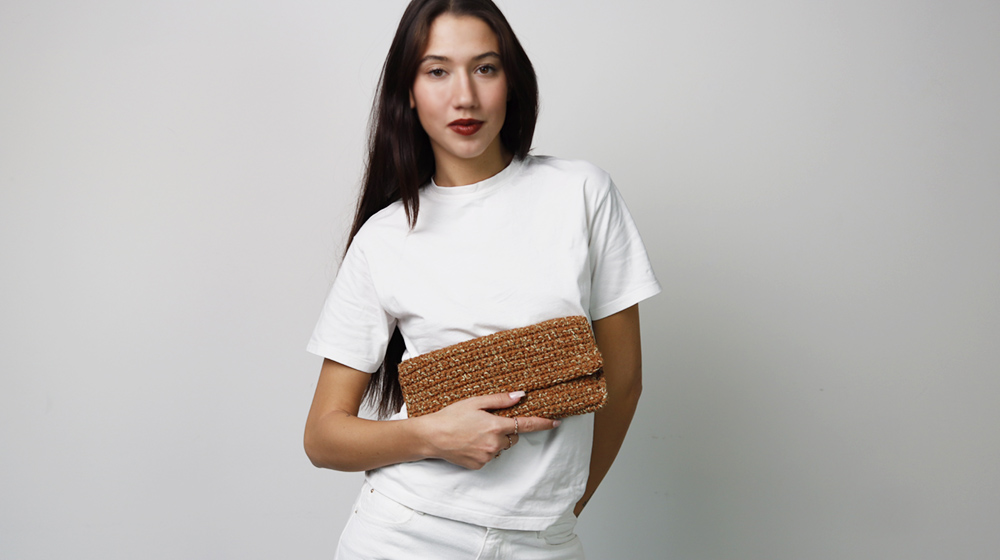
DIMENSIONS OF THE FINISHED PIECE
Width: approximately 27 cm / 10.6"
Height: approximately 13 cm / 5.1"
DIFFICULTY
Easy
METHOD
The clutch is crocheted flat, and it is made from a single rectangular piece that forms the front, back panels, and flap, which are then joined together to create the clutch.
With crochet hook n° 3 EU / D-3 US, start by chaining 33 stitches and crochet 50 rows of single crochet.
Cut the yarn and fasten off.
With the wrong side of the work facing up, fold the final 13 cm towards the inside of the work and join the sides by crocheting 1 row of single crochet using crochet hook n° 3 EU / D-3 US.
Repeat: Insert the hook first into the end of the row on one side, then into the corresponding end of the other side, yarn over, and pull up a loop. Yarn over again and close the two loops on the hook.
Continue until the entire side is closed; repeat for the other side.
Turn the clutch inside out.
From the felt sheets, cut a rectangle slightly smaller than the front panel size and another rectangle slightly smaller than the back panel and flap.
Attach the two felt pieces to their respective parts using small stitches.
Turn the clutch right side out.
Attach the magnetic buttons to the flap corners and, correspondingly, to the front panel:
The parts of the buttons fixed to the flap will be on the wrong side of the work, while the parts attached to the front panel will be on the right side of the work.
This simple procedure will give you a charming crochet clutch with a felt lining and a secure magnetic closure. Would you like more tips on customizing your clutch, such as embellishments or additional finishing techniques?


WRITE A COMMENT